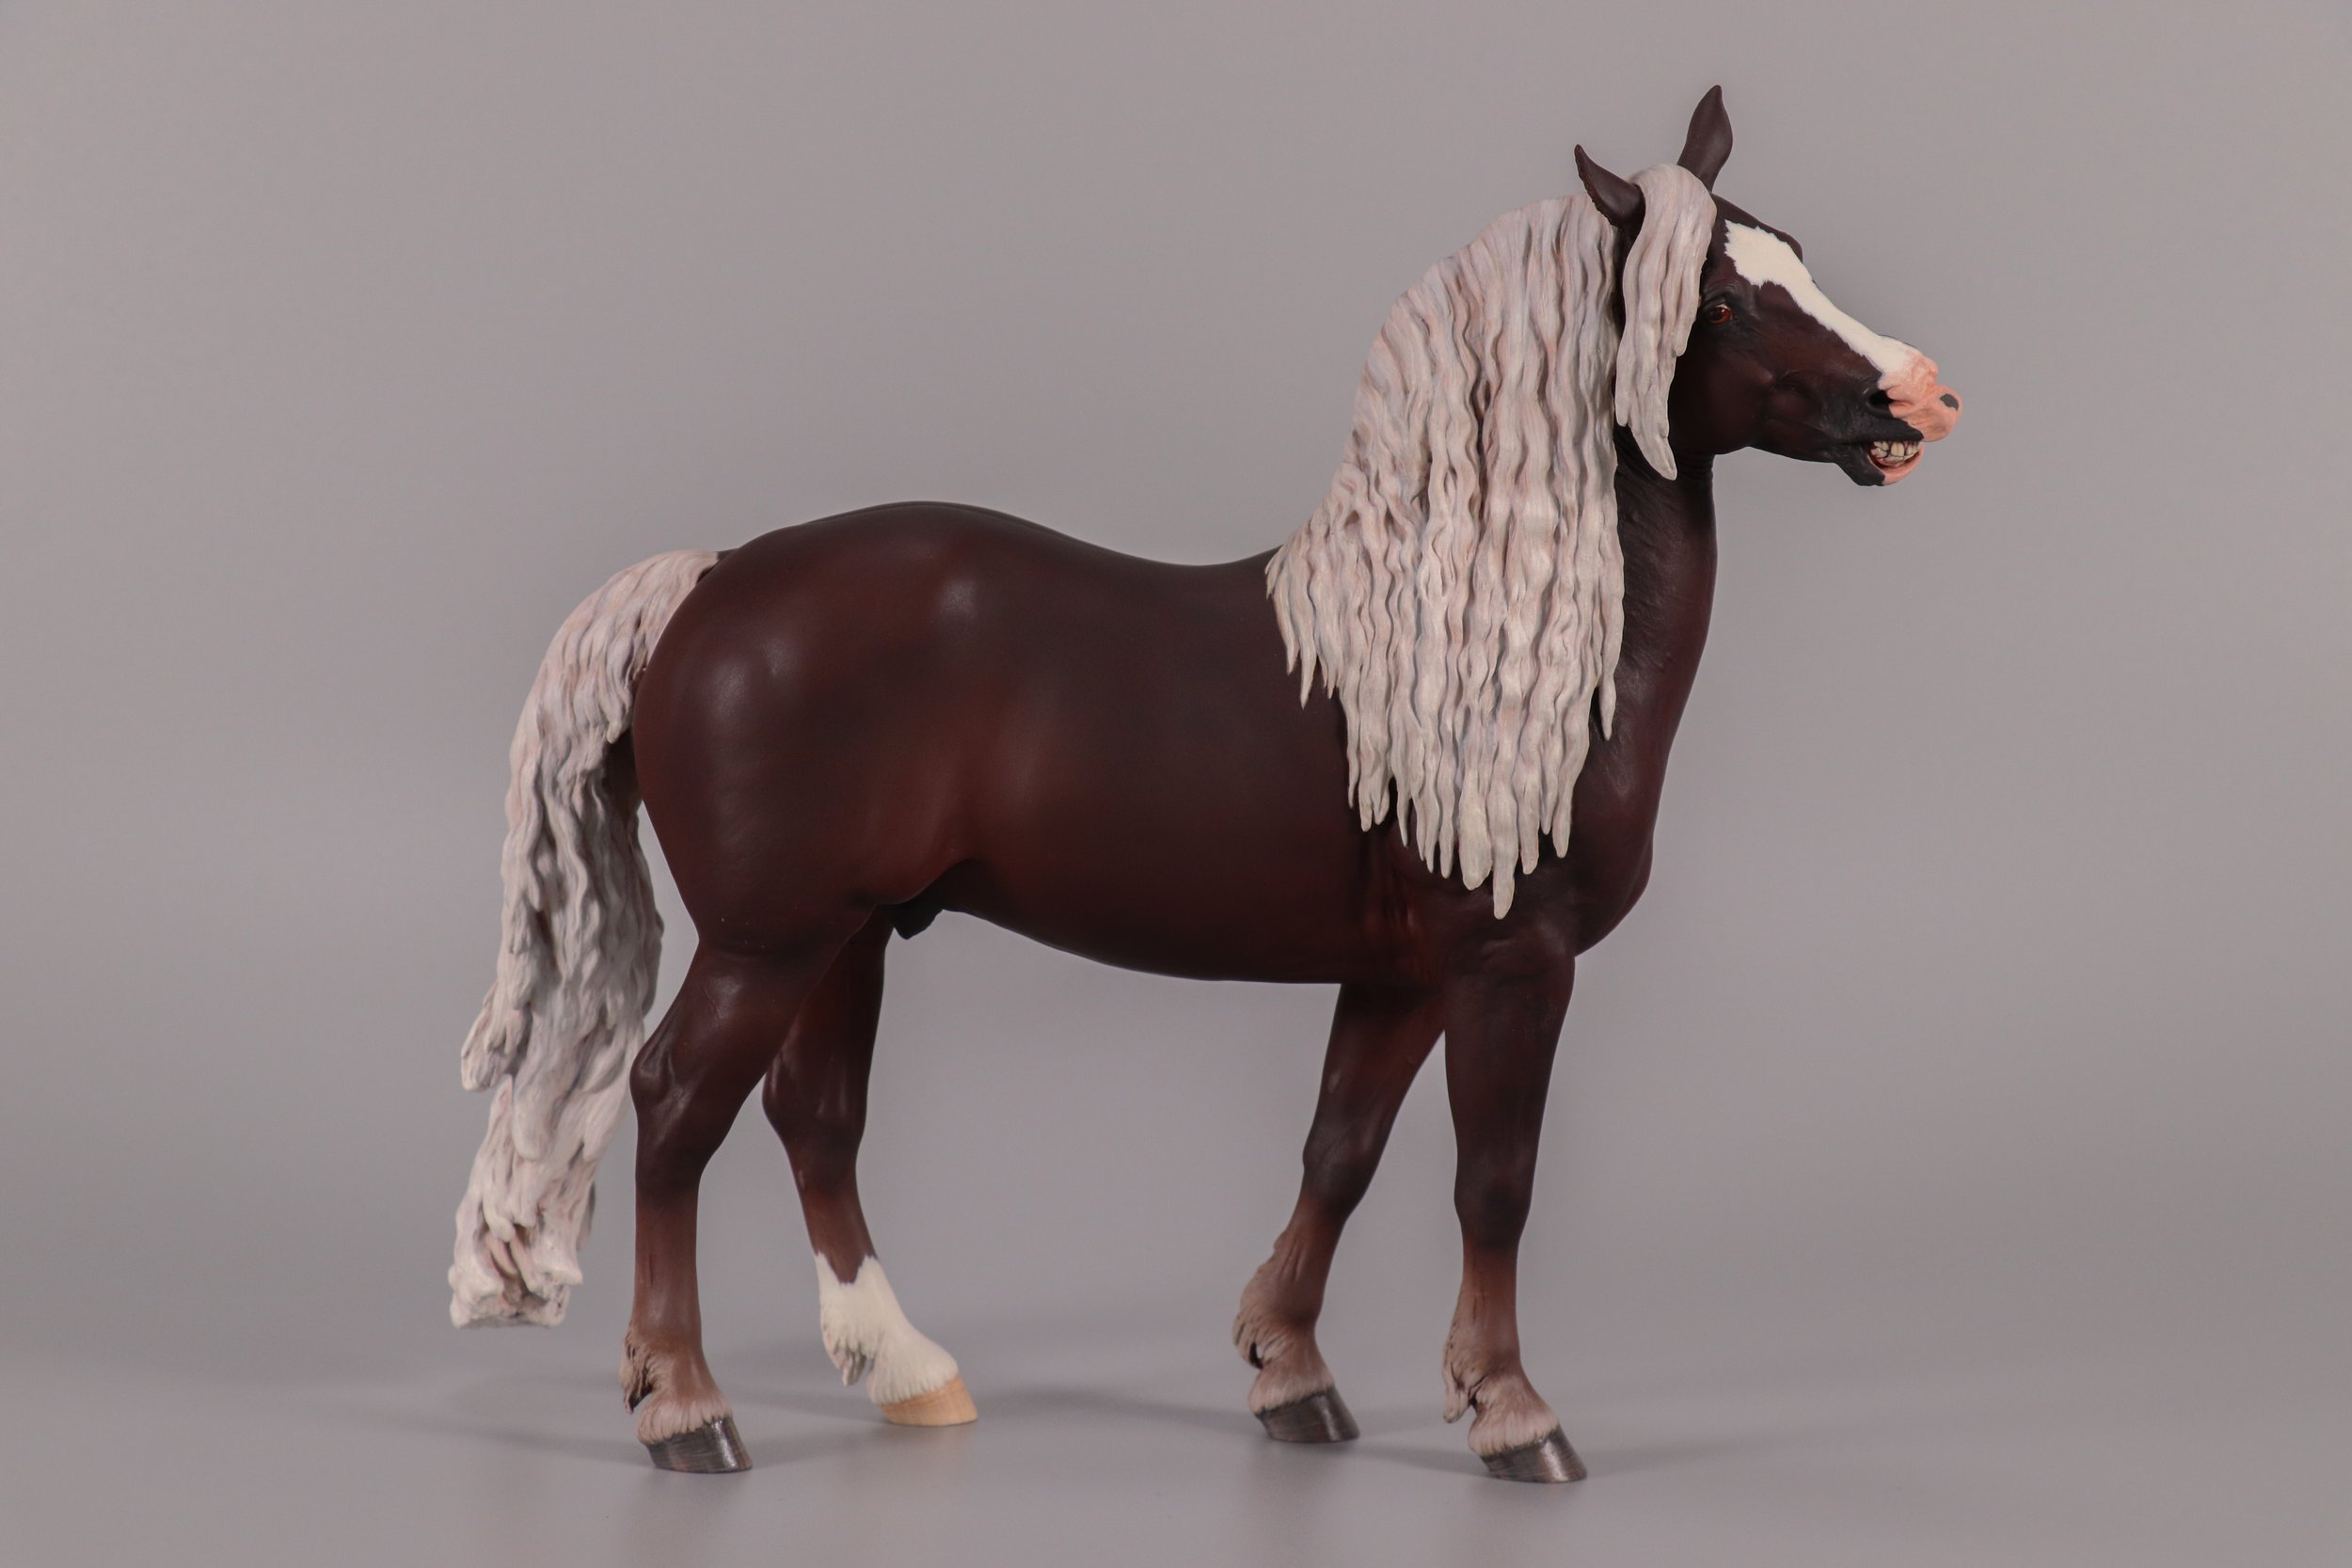
Photographing the model horse
I'm a big believer in archiving and cataloguing my collection, and for me one of the most important parts of this process is photography. I am under no illusions that I'm a good photographer, although I do enjoy it as a hobby. As I've found out, however, you don't need to be a good photographer to take decent photos of your horses—you just need good lighting.
The Old Setup
For some background, I originally bought a photo cube/lightbox (there's a million words for this thing) off Amazon about two years ago, and that's what I've been using to take photos of my horses since. It came with two relatively small LED bars that stick to the top of the cube, and a couple of different fabric backgrounds. I think I lost the white background almost immediately after buying it, because for as long as I can remember I've used a different piece of white fabric safety-pinned to the backdrop (the cube has a velcro strip to stick a fabric background to, but my makeshift backdrop had no velcro to stick).
https://www.amazon.com.au/gp/product/B07ZVHWSV9/ref=ppx_yo_dt_b_asin_title_o09_s00?ie=UTF8&psc=1
One advantage of this photo cube is that it folds down for easy storage. One disadvantage of this photo cube is that it folds down for easy storage, and because my backdrop was safety-pinned in and could not easily be removed, whenever the cube was unfolded again it meant I had to spend thirty minutes bent over with my head inside the cube trying to steam the creases out of the damn fabric. I wear glasses, and those obviously steam up when you're hotboxing your own head, so I'd be doing it blind and just hoping for the best. It was, honestly, a nightmare, and now I have this new setup I don't know how I lasted for two years with this thing.
The OG photocube. The two LED bars slide into elastic bands on the ‘roof’, which then plug into a powerpoint. You can’t change the temperature of the lights, only brightness—and they are set to a very cool white.
That being said, this is an excellent starting point if you're not a colossal idiot like me and won't lose the backdrop instantly (and thus can, you know, remove it so it doesn't get creased... Tim recommends you hang it in the wardrobe to keep it nice and safe until you’re ready to take photos with it again, to save on your ironing/steaming capacity). The photos of my horses I took in this cube are never going to win any photography awards, but for the purposes of archiving, they did the trick. Later when I got into photo showing, my horses even did quite well in this setup—although I know it was not my photography that played any part in that, and more the wonderful artistry of the painters and sculptors. This cube is also relatively cheap as photography equipment goes ($80 AUD), which is what makes it a good starting point.
Look, here it is in glory hole mode, if you need to add some more light.
I will spare you the story of what led to me moving on from this photo cube, as that's not what you're here for. Let's just say it involved a trip to the fabric shop, numerous tears and lots of sweating, an autistic meltdown, and an impulsive (in a good way) partner. But it was clear it was time to move on; it had outgrown its usefulness and I was ready to level up my photos.
Below is a gallery of a few photos I took in this original photo cube.
The New Setup
Now, I will admit, I have no idea what most of this equipment is (beyond the obvious light, lightstand, table, backdrop). Tim, my partner, saw how frustrated I was getting at my photo cube and surprised me by buying all of it, which is incredibly generous and I’m very grateful. I asked him to do a writeup about the equipment he posted, and he’s included all the links—they link to an Australian website so unfortunately I have no idea if they ship overseas, but if they don’t they should give you a good starting point for you to find similar products in your local internet marketplace.
Lighting equipment
The lights are Pixel P45RGB with a Pixel F5C 40cm Softbox on a MC FOTO 280cm Light Stand. You can get all of this in a bundle set of two lights, two tripods and two softboxes here:
https://www.photoequipmentstore.com.au/pixel-p45rgb-360-rgb-led-light-with-softbox-kit ($985 AUD)
For the overhead light you need to purchase the light, tripod and softbox separately. You’ll need a tripod called a c-stand or Boom Stand; these have an adjustable arm to hang the light over the top of the setup. The one we’re using is the Jinbei M3 2-in-1 Boom Stand Max Payload 4Kg 2.9m Light Stands with built in 2.2m Boom Arm. All three items can be purchased at the links below:
Light: https://www.photoequipmentstore.com.au/pixel-360-rgb-led-panel-light-p45rgb ($375 AUD)
Softbox: https://www.photoequipmentstore.com.au/pixel-led-light-40cm-foldable-softbox-f5c ($59.95 AUD)
Boom Stand: https://www.photoequipmentstore.com.au/jinbei-m3-2-in-1-boom-stand-max.-payload-4kg ($195 AUD)
These lights can run off batteries sold separately but I can’t comment on how long the batteries last as we don’t have them (a note from Maeve: and honestly, unless you’re planning on your setup being particularly mobile, you don’t need them. The cables are relatively low-profile and I didn’t trip over them once while I was walking around the entire setup, which for someone as clumsy as me is an achievement). Here's the battery for Pixel LED light: https://www.photoequipmentstore.com.au/pixel-f970-8400mah-np-f-led-light-battery ($75 AUD)
And Charger: https://www.photoequipmentstore.com.au/pixel-np-f-dual-battery-charger-hc2 ($55 AUD)
There is also a remote we don’t have that would be exceptionally useful for adjusting the overhead light (we’ve ordered one but it hasn’t come yet) https://www.photoequipmentstore.com.au/pixel-lc-8-rgb-led-light-remote-controller ($45 AUD)
A note on these lights, they are overkill. Pixel make white only (still with adjustable colour temperature) which are cheaper and all you need for horses. I purchased the RGB model for non-horse fun photography. If all you want is horse lights (Maeve note: I love the phrase ‘horse lights’) I’d strongly recommend saving money on the white only lights. As I haven’t used the various models though I couldn’t recommend a specific one. If you want to purchase accessories like the batteries and remotes double check they are the right ones for the lights you purchase.
Table
This table is overkill, if you can find one that is a bit smaller it would be fine (Maeve note: Tim actually ordered a smaller one that was a bit more collapsible, but they were out of stock of that one so sent us this bigger one instead. I can’t say I’m ungrateful, but it is a bit of a bear to pack up and pack down. It does come undone to store inside its cardboard box, but it’s still not tiny!).
https://www.photoequipmentstore.com.au/jinbei-jb-200x100-photographic-table-with-wheels-200-x-100cm/ ($520 AUD)
If you do use a table, ensure the table top is installed correctly and the screws holding it in tightened well. Never put your weight on the top of the table—it is designed for 8kg, not a human, so the top may pop out. There is also some flex in the PVC top so do be cautious when placing models to ensure they are standing steadily. We use a square of cardboard underneath the background (which we taped onto the table) to provide a flatter footing (plus softer if the model tips).
Backgrounds
Small, easy to tape down to the table: https://www.amazon.com/dp/B014H3P618?ref=ppx_yo2ov_dt_b_product_details&th=1 ($65.99 AUD + $38 shipping to Aus (but this one is on Amazon US, so for my US friends it’s probably cheaper) for 9 colours)
Full width of the table above, this makes it much more fiddly to put on the table neatly but doable. Probably going to be worth it for oversized models: https://www.amazon.com/dp/B014H3PDVQ?ref=ppx_yo2ov_dt_b_productdetails&th=1 ($109 AUD + $68 AUD shipping)
These backgrounds aren’t as matte as we would like. If you’re having trouble with reflections from the lights, try adjusting the brightness and angling of the lights. You could even try bouncing the light off the roof or walls of the room you’re in, particularly for glossy models, this would mean there is no direct light hitting the model so should limit reflections and provide soft light.
Our top light is as high as the ceiling will allow and centered on the horse, the side lights are quite close to the table on either side but still in front of the model. We’re using 5000k colour temperature on all the lights and 75% brightness on the side lights and 30% on the overhead. This is working for matte models; we’ll need to experiment for glossy models.
So, that’s the equipment! Here’s some photos of how it’s all set up.
I apologise for the slivers of chaos you can view around the setup; I am constantly fighting my own messiness and destruction. Regardless, here you can see the setup in its entirety. It’s actually sitting where our dining room table usually is; we moved it out of the way in front of the TV temporarily (behind the camera in this photo—not the Canon camera, but rather the phone camera I’m taking this photo with… wow, could I be any more confusing?) simply because it’s too massive to set up anywhere else.
Another angle, complete with a crude censoring of some medication I left in the shot like a dingus. The glass snake tanks behind the light on the left aren’t usually there, I promise… we’re going through a decluttering phase at the moment so we’re chucking out a lot of our old shit. Anyway. Why am I telling you this? You just want to know how to take nice photos.
A comparison shot of the tripods. The two on the left are for the left and right lights. The smallest one is my piece-of-shit tripod I use for my camera (more on that in the next segment). The girthy monster on the right is the boom stand for the overhead light; I haven’t picked it up to verify but I reckon it’s fuckin’ heavy.
Although I wouldn’t make a habit of it, leaning on the table became a necessity when it came to photographing the minis and micros. My tripod just couldn’t get close enough, and my lens isn’t a super duper telephoto zoom lens (although I do have one of those; it’s quite ridiculously large). Despite Tim’s warnings above not to have a dance party on the surface, it actually felt pretty stable under me, and didn’t wobble when I was leaning down repeatedly. You’ll also notice I’ve got the horse set quite far forward on the backdrop—again a necessity because my camera was on struggle street trying to photograph these minis.
The Camera (and lens and tripod and editing software etc etc)
My camera (‘Bruce’) is a Canon EOS 77D that I purchased in 2018. I don’t actually know if this model is made anymore, as I can’t find any contemporary listings for a new body, but I believe I paid around $1400 (AUD, of course) for the body and kit lens, which is the one I still use today (more on the lens below). Generally with EOS models, the smaller the number the fancier/more expensive the camera, and the 77D was marketed as one step above entry level. This suited me well as I’ve had entry level DSLRs in the past and wanted something with a little bit more oomph to it. My only complaint is the battery life, but honestly I probably just have to suck it up and buy a new and/or backup battery, and it’s not a reflection on the camera itself. I’ve also toyed with upgrading, as it’s 5 years old now and mirrorless cameras are intriguing to me, but I can’t really justify the cost to myself when a) there’s nothing wrong with my current camera and b) I don’t really use it enough to justify spending the money on an upgrade—if I took photos every day, I’d certainly consider it more seriously.
My lens is a EF-S18-135mm f/3.5-5.6 IS USM, which unless you’re fluent in camera-speak is likely a whole lot of gibberish (it is to me) but it’s a decent everyday zoom lens, nothing fancy. As I mentioned above I own a proper telephoto lens I bought secondhand, but it’s massive and heavy and simply unnecessary for horse photography. I’ve also got a basic UV filter on my lens, mainly to protect it from getting dust and crap on it.
My tripod, which I (not-so-)affectionately refer to as ‘piece of shit’ because it is, indeed, a piece of shit, is a Sirui Traveler 5C which I paid $180 for in 2021. It does the job and holds my camera up, but I find it a little unwieldy and wobbly no matter how much I tighten every screw I can find.
Case in point, check out this wobble. I’ve tightened the ring from whence this wobble is originating and it still wobbles incessantly. Drives me bonkers.
Your camera settings will vary depending on your own light setup and preferences, but for the below photos, I used Av (Aperture priority mode, which allows you to set your aperture and let the camera take care of shutter speed and ISO), and set my Aperture mostly to f/8.0. I like to play a bit with depth of field, even though for photo showing a flat image is probably preferable. My aperture being an 8 allowed me a little bit of DoF without being too dramatic, and for horses with very dynamic poses where I wanted all bits to be in focus, I’d go to f/11, f/14 or f/20 as needed. I let the camera deal with the shutter speed but it varied from 1/120 to 1/50—although I noticed early on that it wasn’t choosing to vary shutter speed at all but rather adjust the ISO, which I found annoying as it was such a bright environment, so I set the ISO to a max of 1600 and made it cope. I am not, by any means, a photography expert—I’m more adept at pressing buttons until I like the result—so I’m sure there’s people who know way more about this shit reading this and scratching their head at my choice of settings.
Depth of field fun: her eye is in focus, but her body is not. This photo was taken with an aperture value of f/8. Also, as an aside, I’ve spent at least thirty minutes editing this photo alone and still can’t get it to a place that I’m happy with—her whites are creamy in-person, but no matter what I do, they seem to end up yellow in Lightroom. In this image I’ve manually adjusted the white balance to be cooler, something I usually avoid doing, but I’m still not happy with it.
I also usually choose to shoot with the viewfinder, but for most of my photos with this new setup, I’ve been using the camera’s ‘Live View’ mode—which is just using the LCD touchscreen. I could tap on various parts of the screen to force the camera to focus on the relevant part of the horse (especially useful when playing with DoF).
Finally, to edit the photos, I used Adobe Lightroom, as that’s what I’m most familiar with. Most didn’t need too much editing—I made small adjustments to exposure, highlights, and whites. Some needed big adjustments. I know that I tend to like my photos overexposed (in one of my photography courses, someone once told me that you can take light away but you can’t put light back in, so while you’re learning always try and go for overexposed rather than underexposed. Of course, ideally you’d go for perfectly exposed, but I don’t think I’ve ever taken a perfectly exposed photo in my life and I’ve been doing photography as a hobby since I was 14. I don’t even know if this information is legit or even worth clinging to, but my god have I clung to it), so it’s just been finding the balance between aaagh my eyes are bleeding from the brightness and that’s too dull. Editing is such a crucial part in the process, but I’ll readily admit it’s my biggest blindspot—I have no idea what I’m doing most of the time, and I don’t trust my own sense of what I like in a photo or my own eyes, so I often just play with sliders until I think it looks right, which is not a particularly scientific method.
The unedited version of the photo above.
Some edits are conservative, like with the Dante above—I just pulled the highlights down a little. I found that this was my most common problem; even if the photo wasn’t overexposed (or rather overexposed past my preferred limits of overexposure, lol), the whites were often blown out a bit, so I tried to dial it down.
Some edits, though, are drastic, like with the ones below. I tried to salvage these photos as best I can, but I’m not 100% happy with them. I actually took the photos on Saturday during the day, sorted and edited them that night, and then came back to them on Sunday with fresh eyes to see if I still thought my edits held up. In some cases I felt I’d gone too overzealous with making them darker, so I brightened them back up again a tiny bit. Essentially even when the overall brightness of the photo was ok, I tried to play with the levels to bring out the depth of the model’s colour more, while still retaining a brightness. It’s a really weird, delicate balance when I’ll look at an edit one day and go “yep looks good” and then the next day hate it and fiddle with it some more, but that’s just the way of photo editing I suppose! I could honestly sit here and edit these photos for weeks, but I have banned myself from Lightroom for the time being, simply so I can stop moving sliders +0.01 of a stop upwards and telling myself I think it makes a massive difference.
I’ve always preferred flat matte finish for a resin, and I’ve never really been able to articulate why. Now, though, I’ve realised it’s probably because satin matte is so bloody hard to photograph! Every single satin matte model I’ve tried to take a photo of has ended up with glare everywhere, like the poor Victrix below. As Tim mentioned earlier, we’re going to have to play around with this lighting setup when it comes to photographing the OF collection, as there’s no way I’m going to get nice photos of factory glossed models with the lights the way they are currently!
This darn Victrix is so stunning—if only I could get a photo that manages to do her justice!
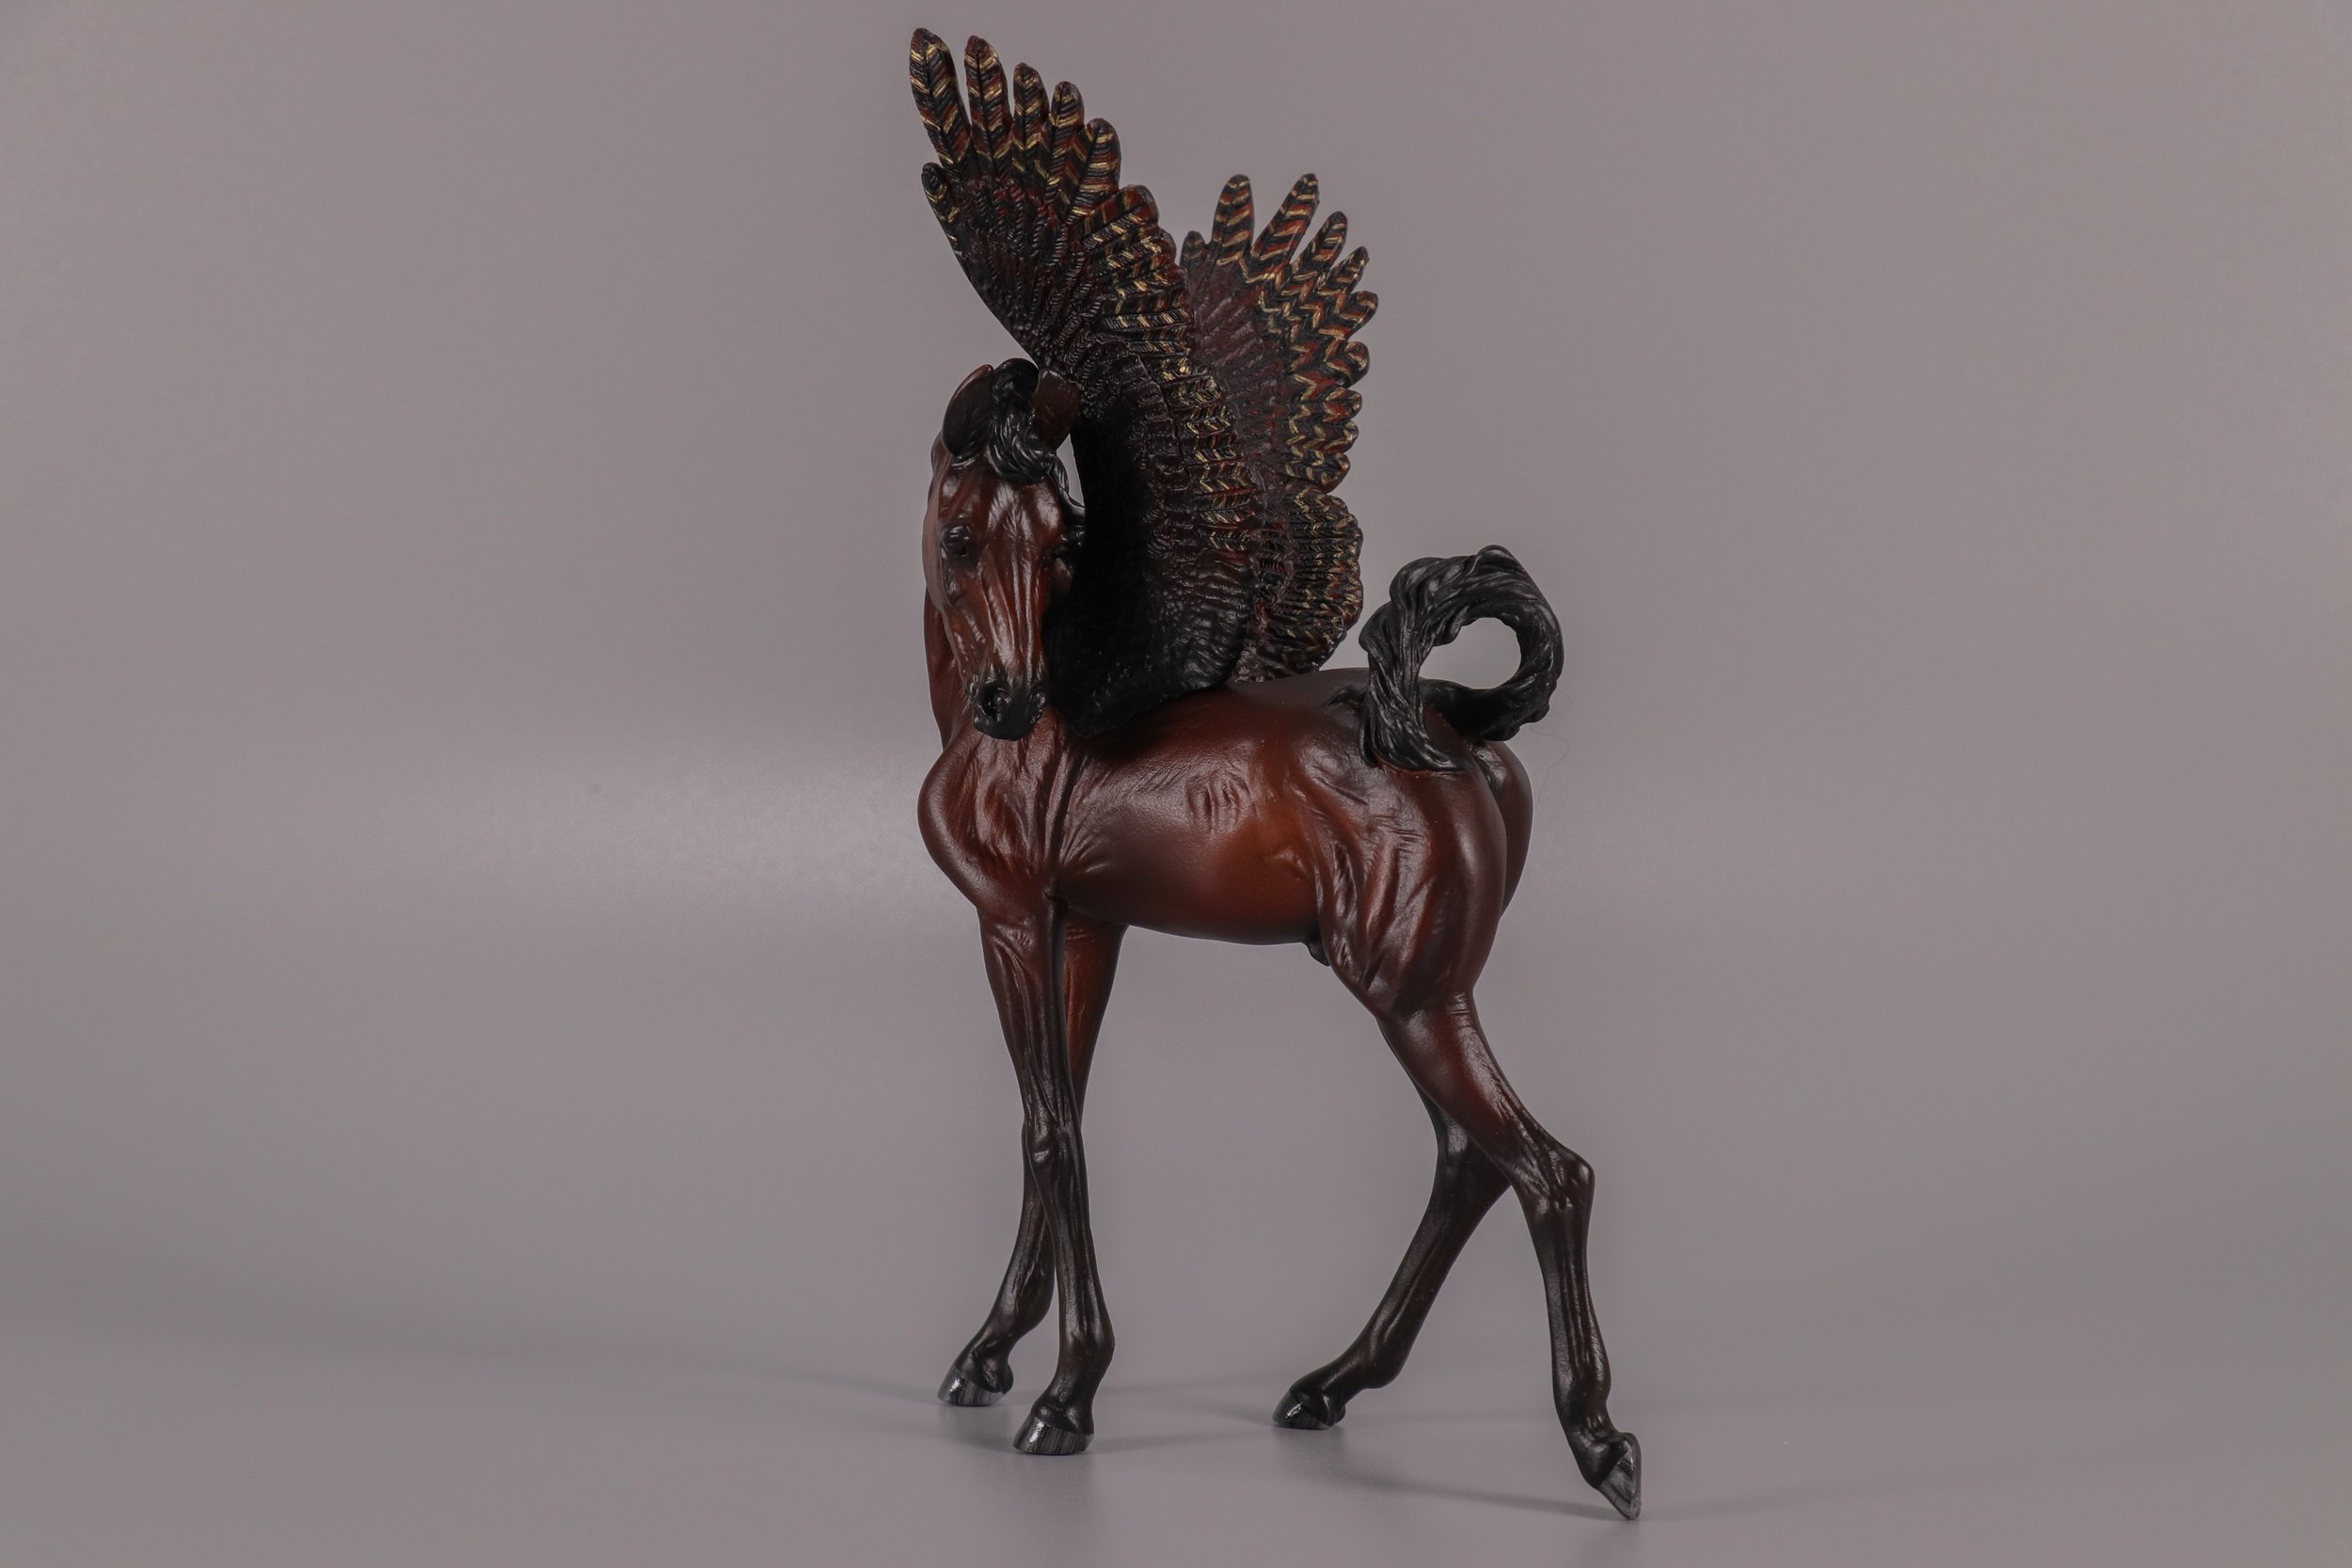
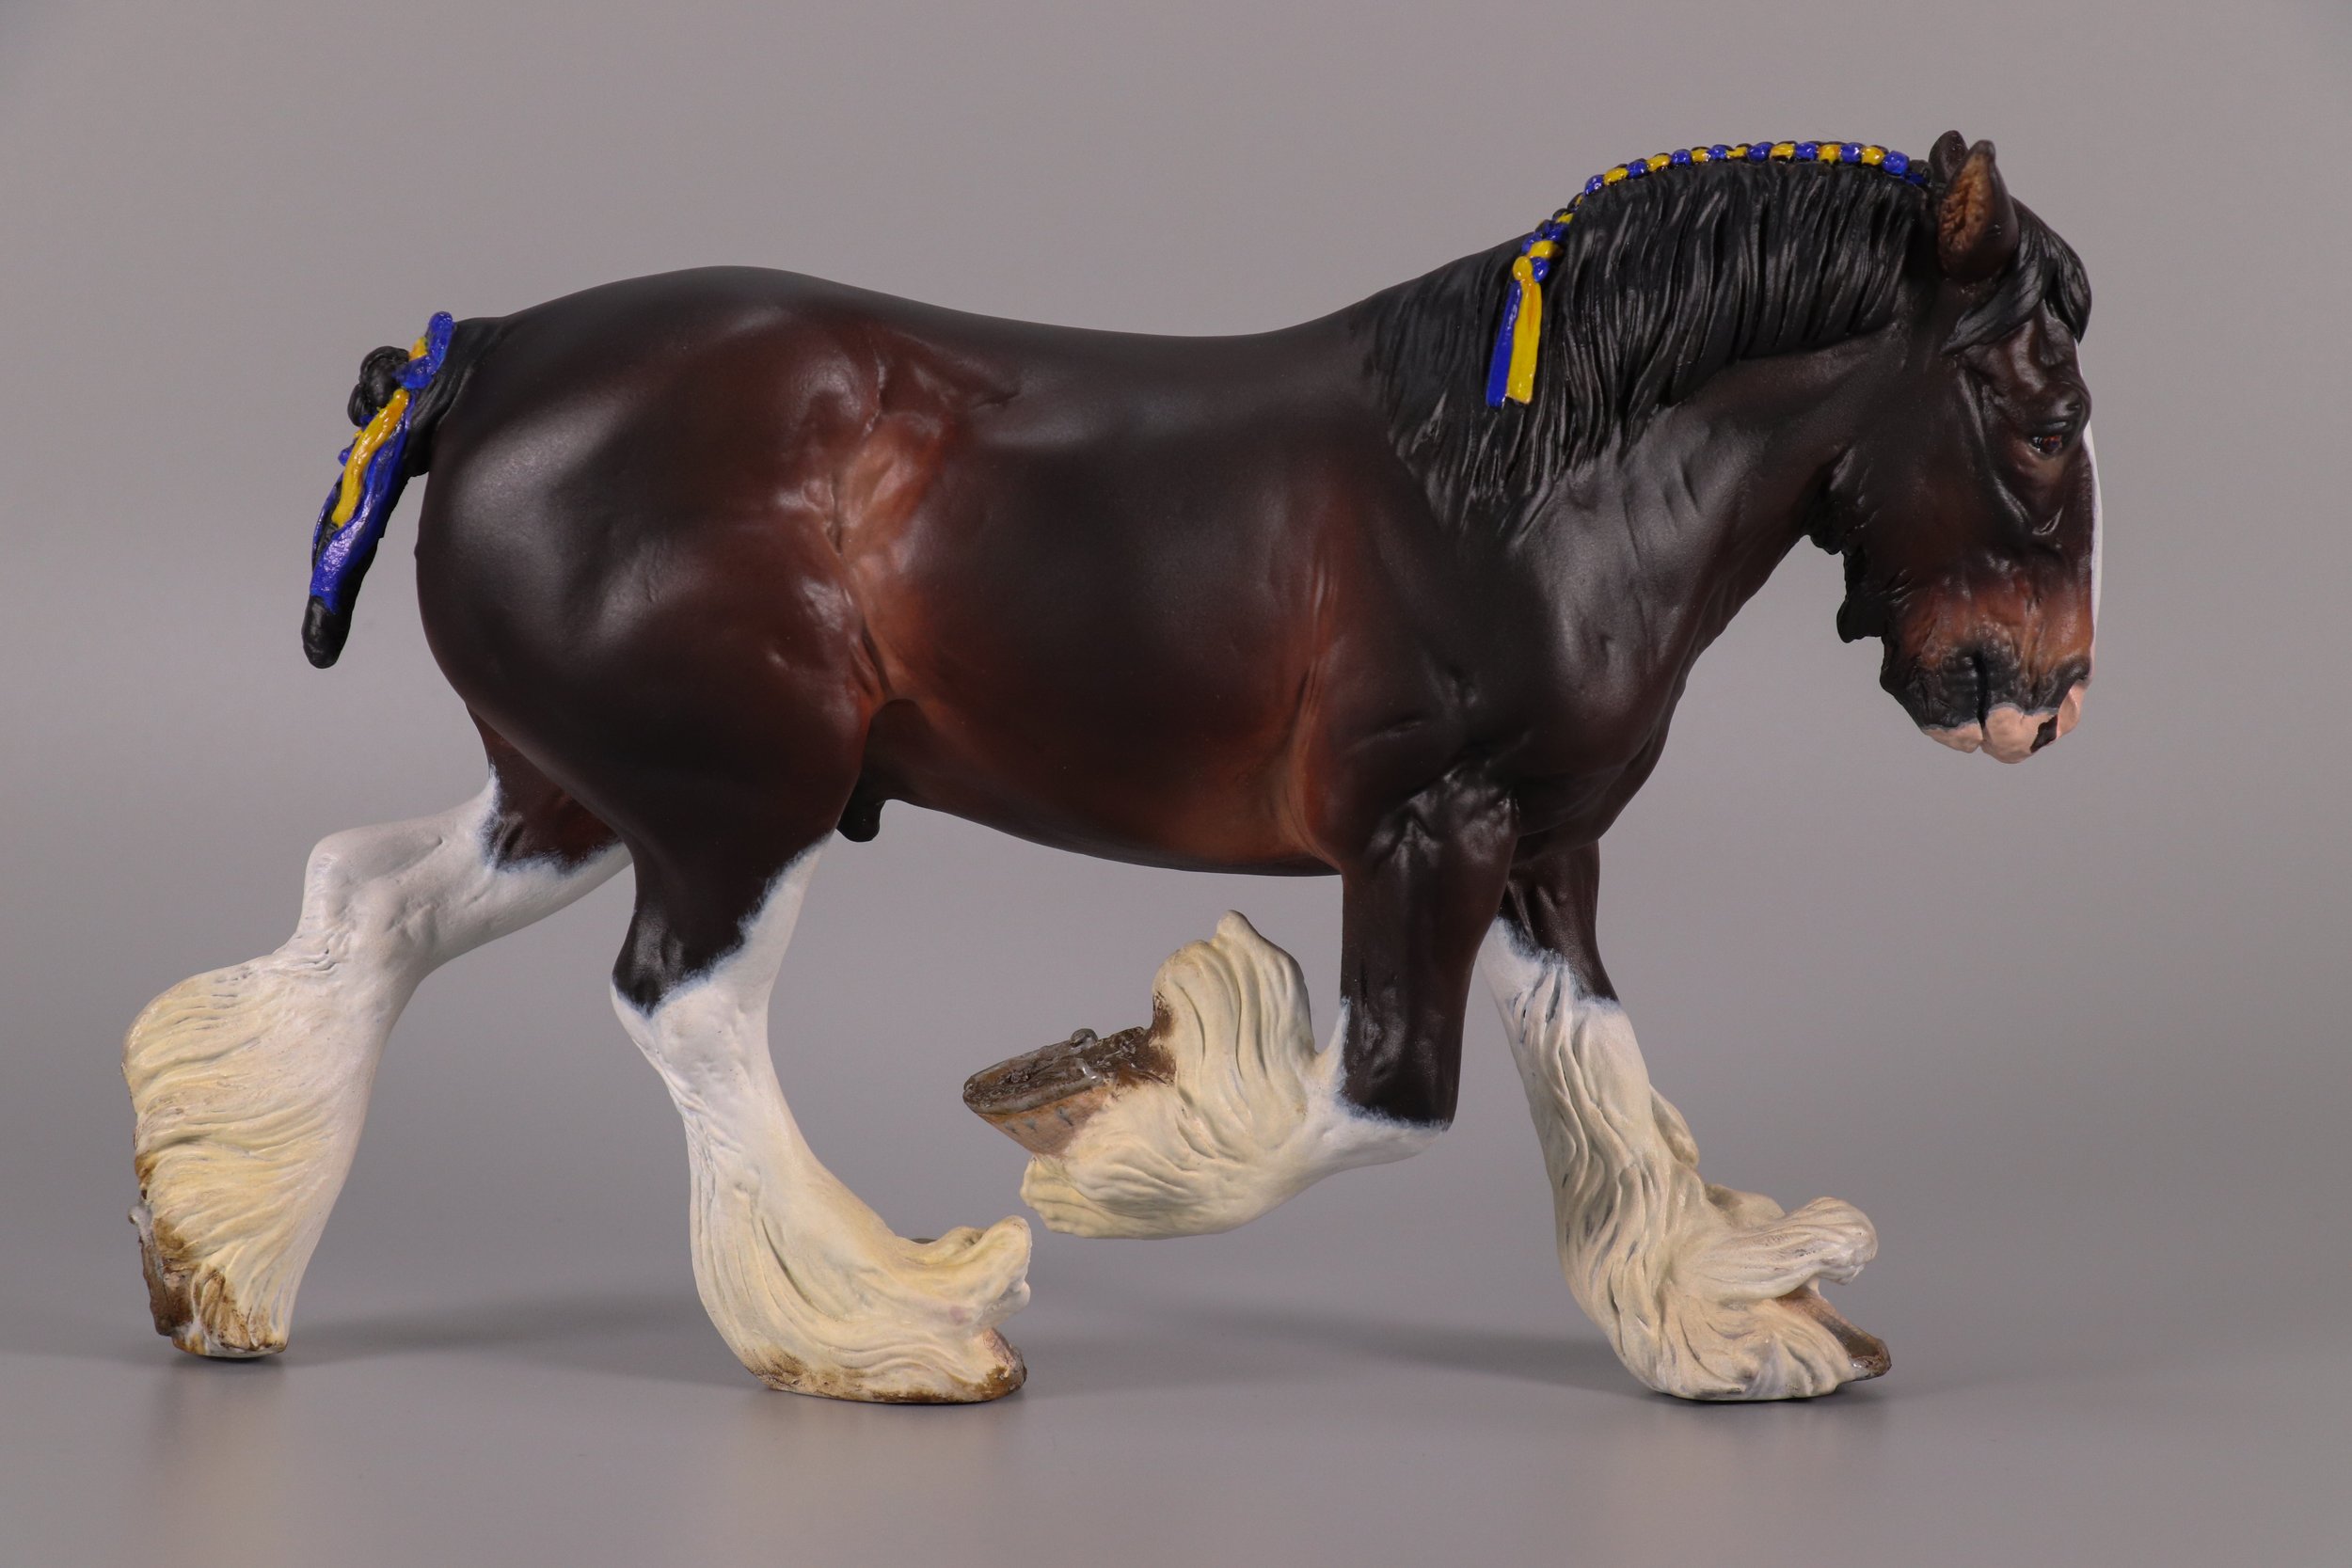
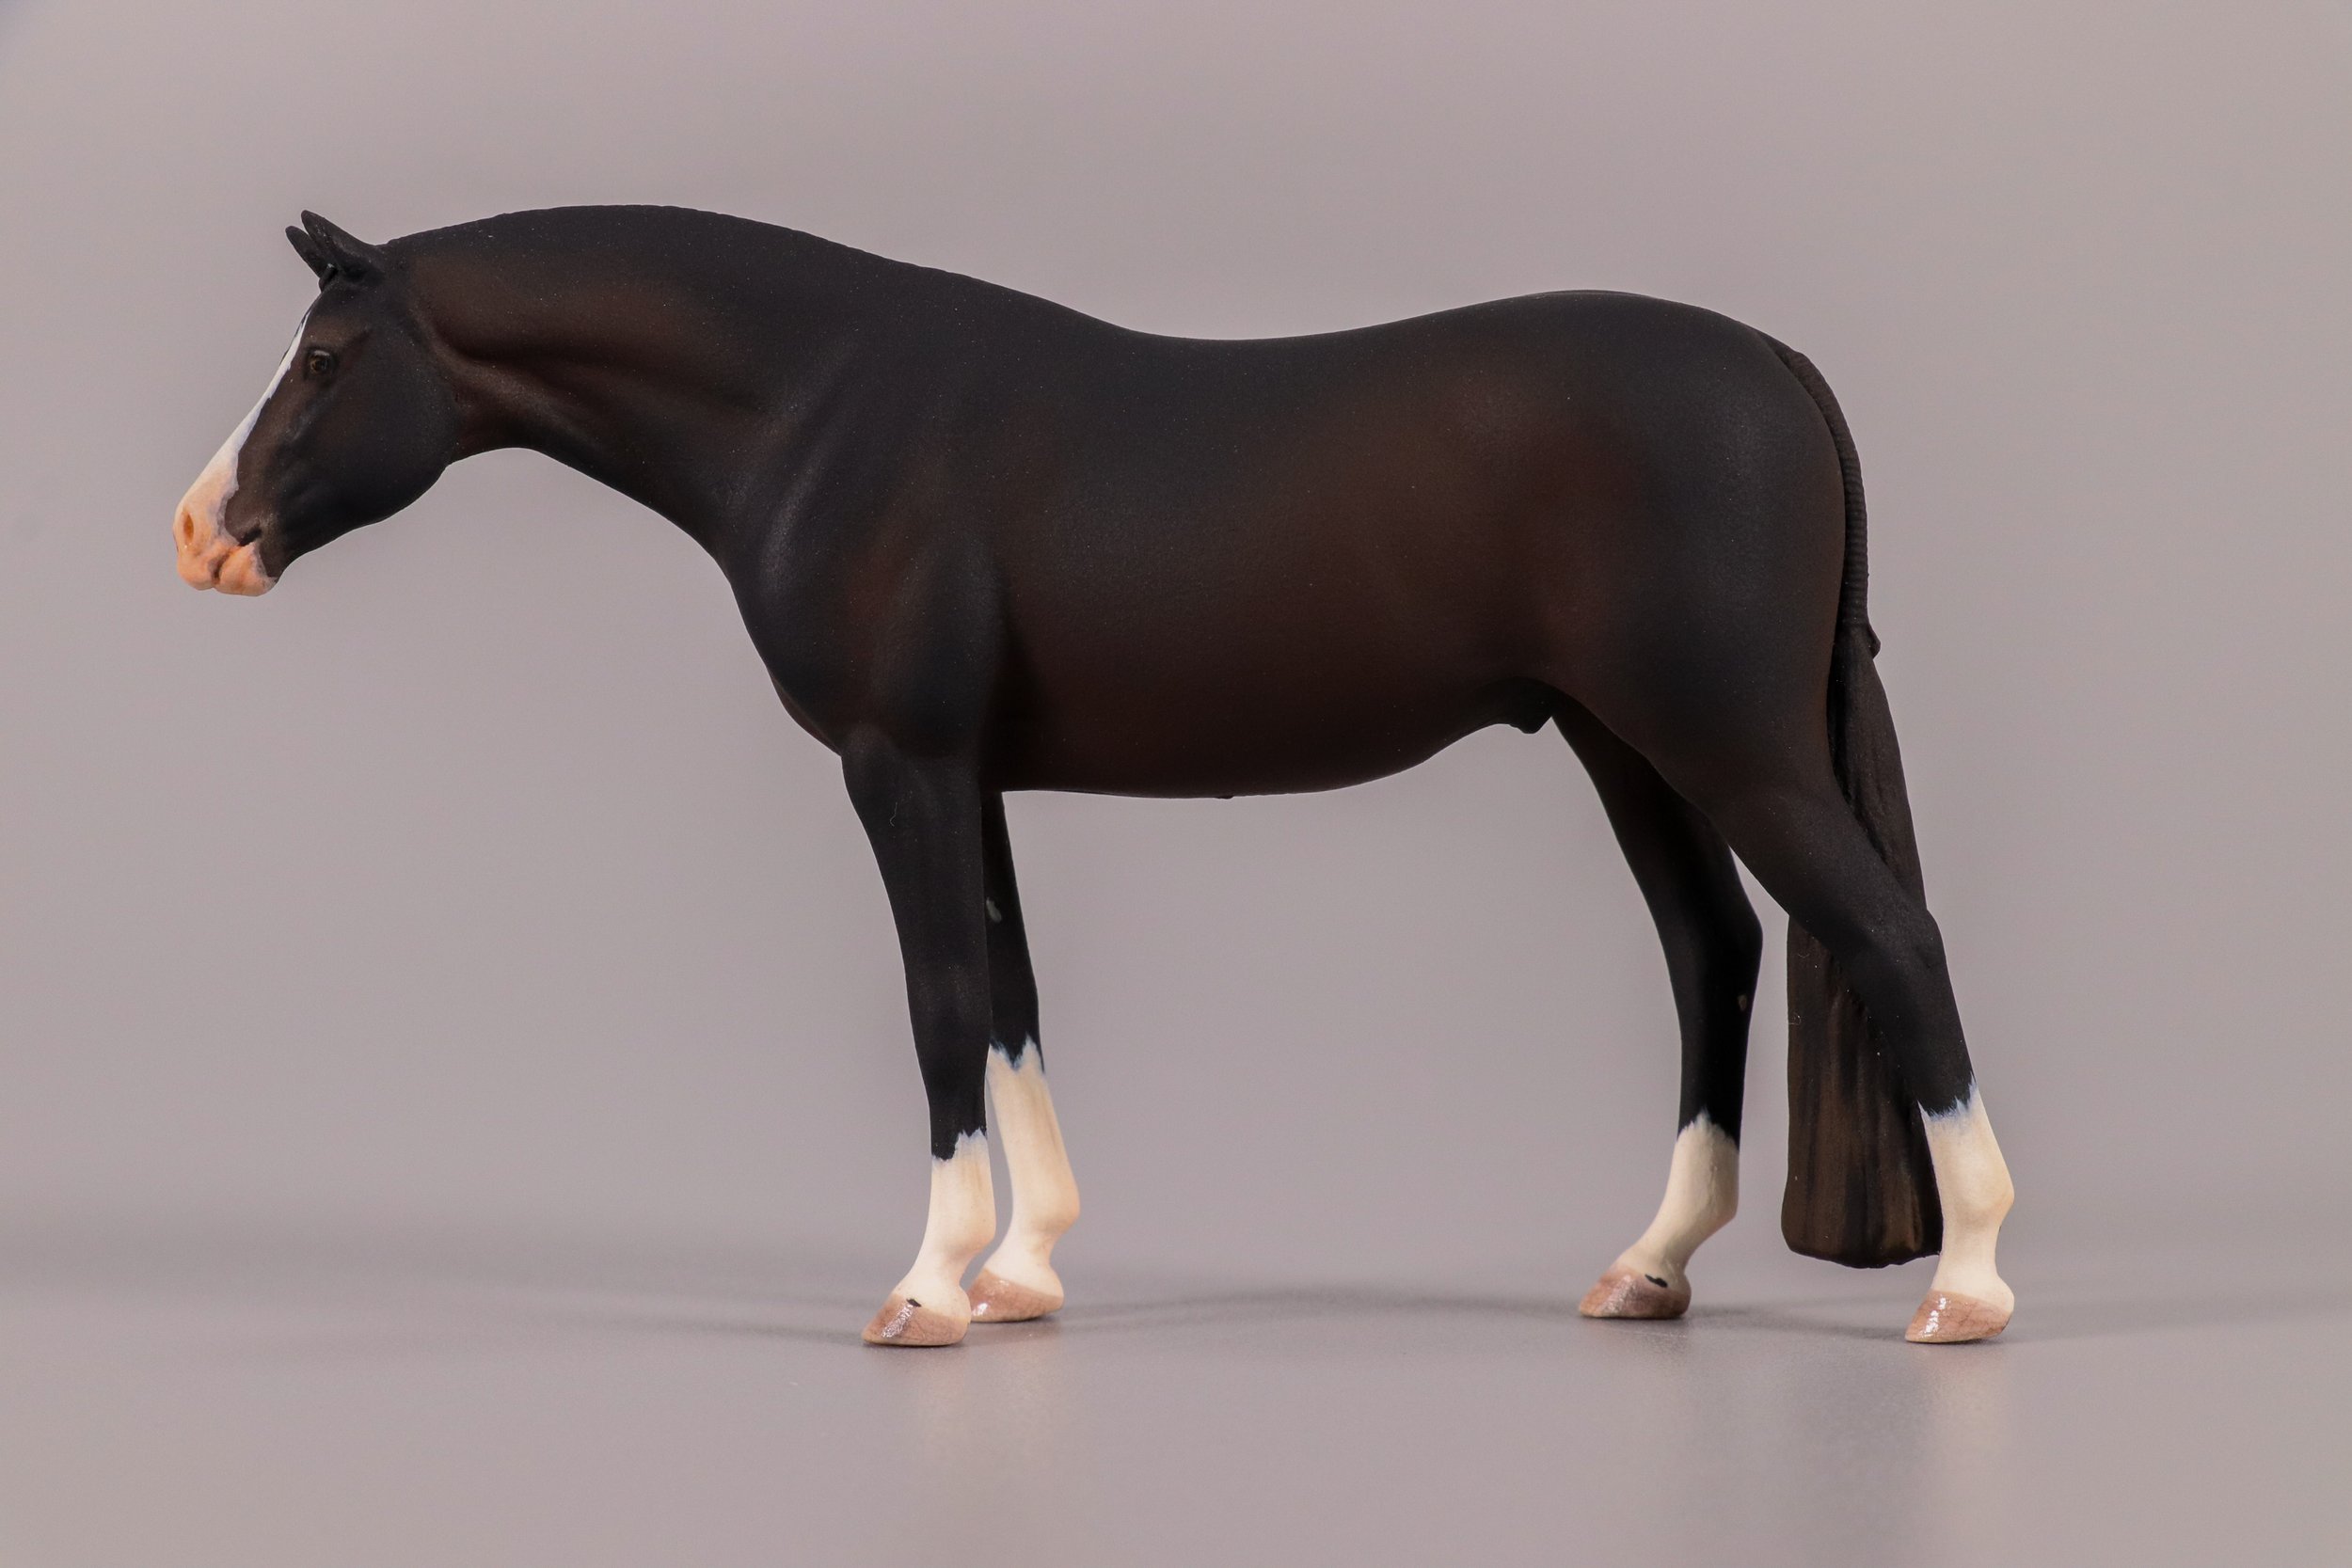
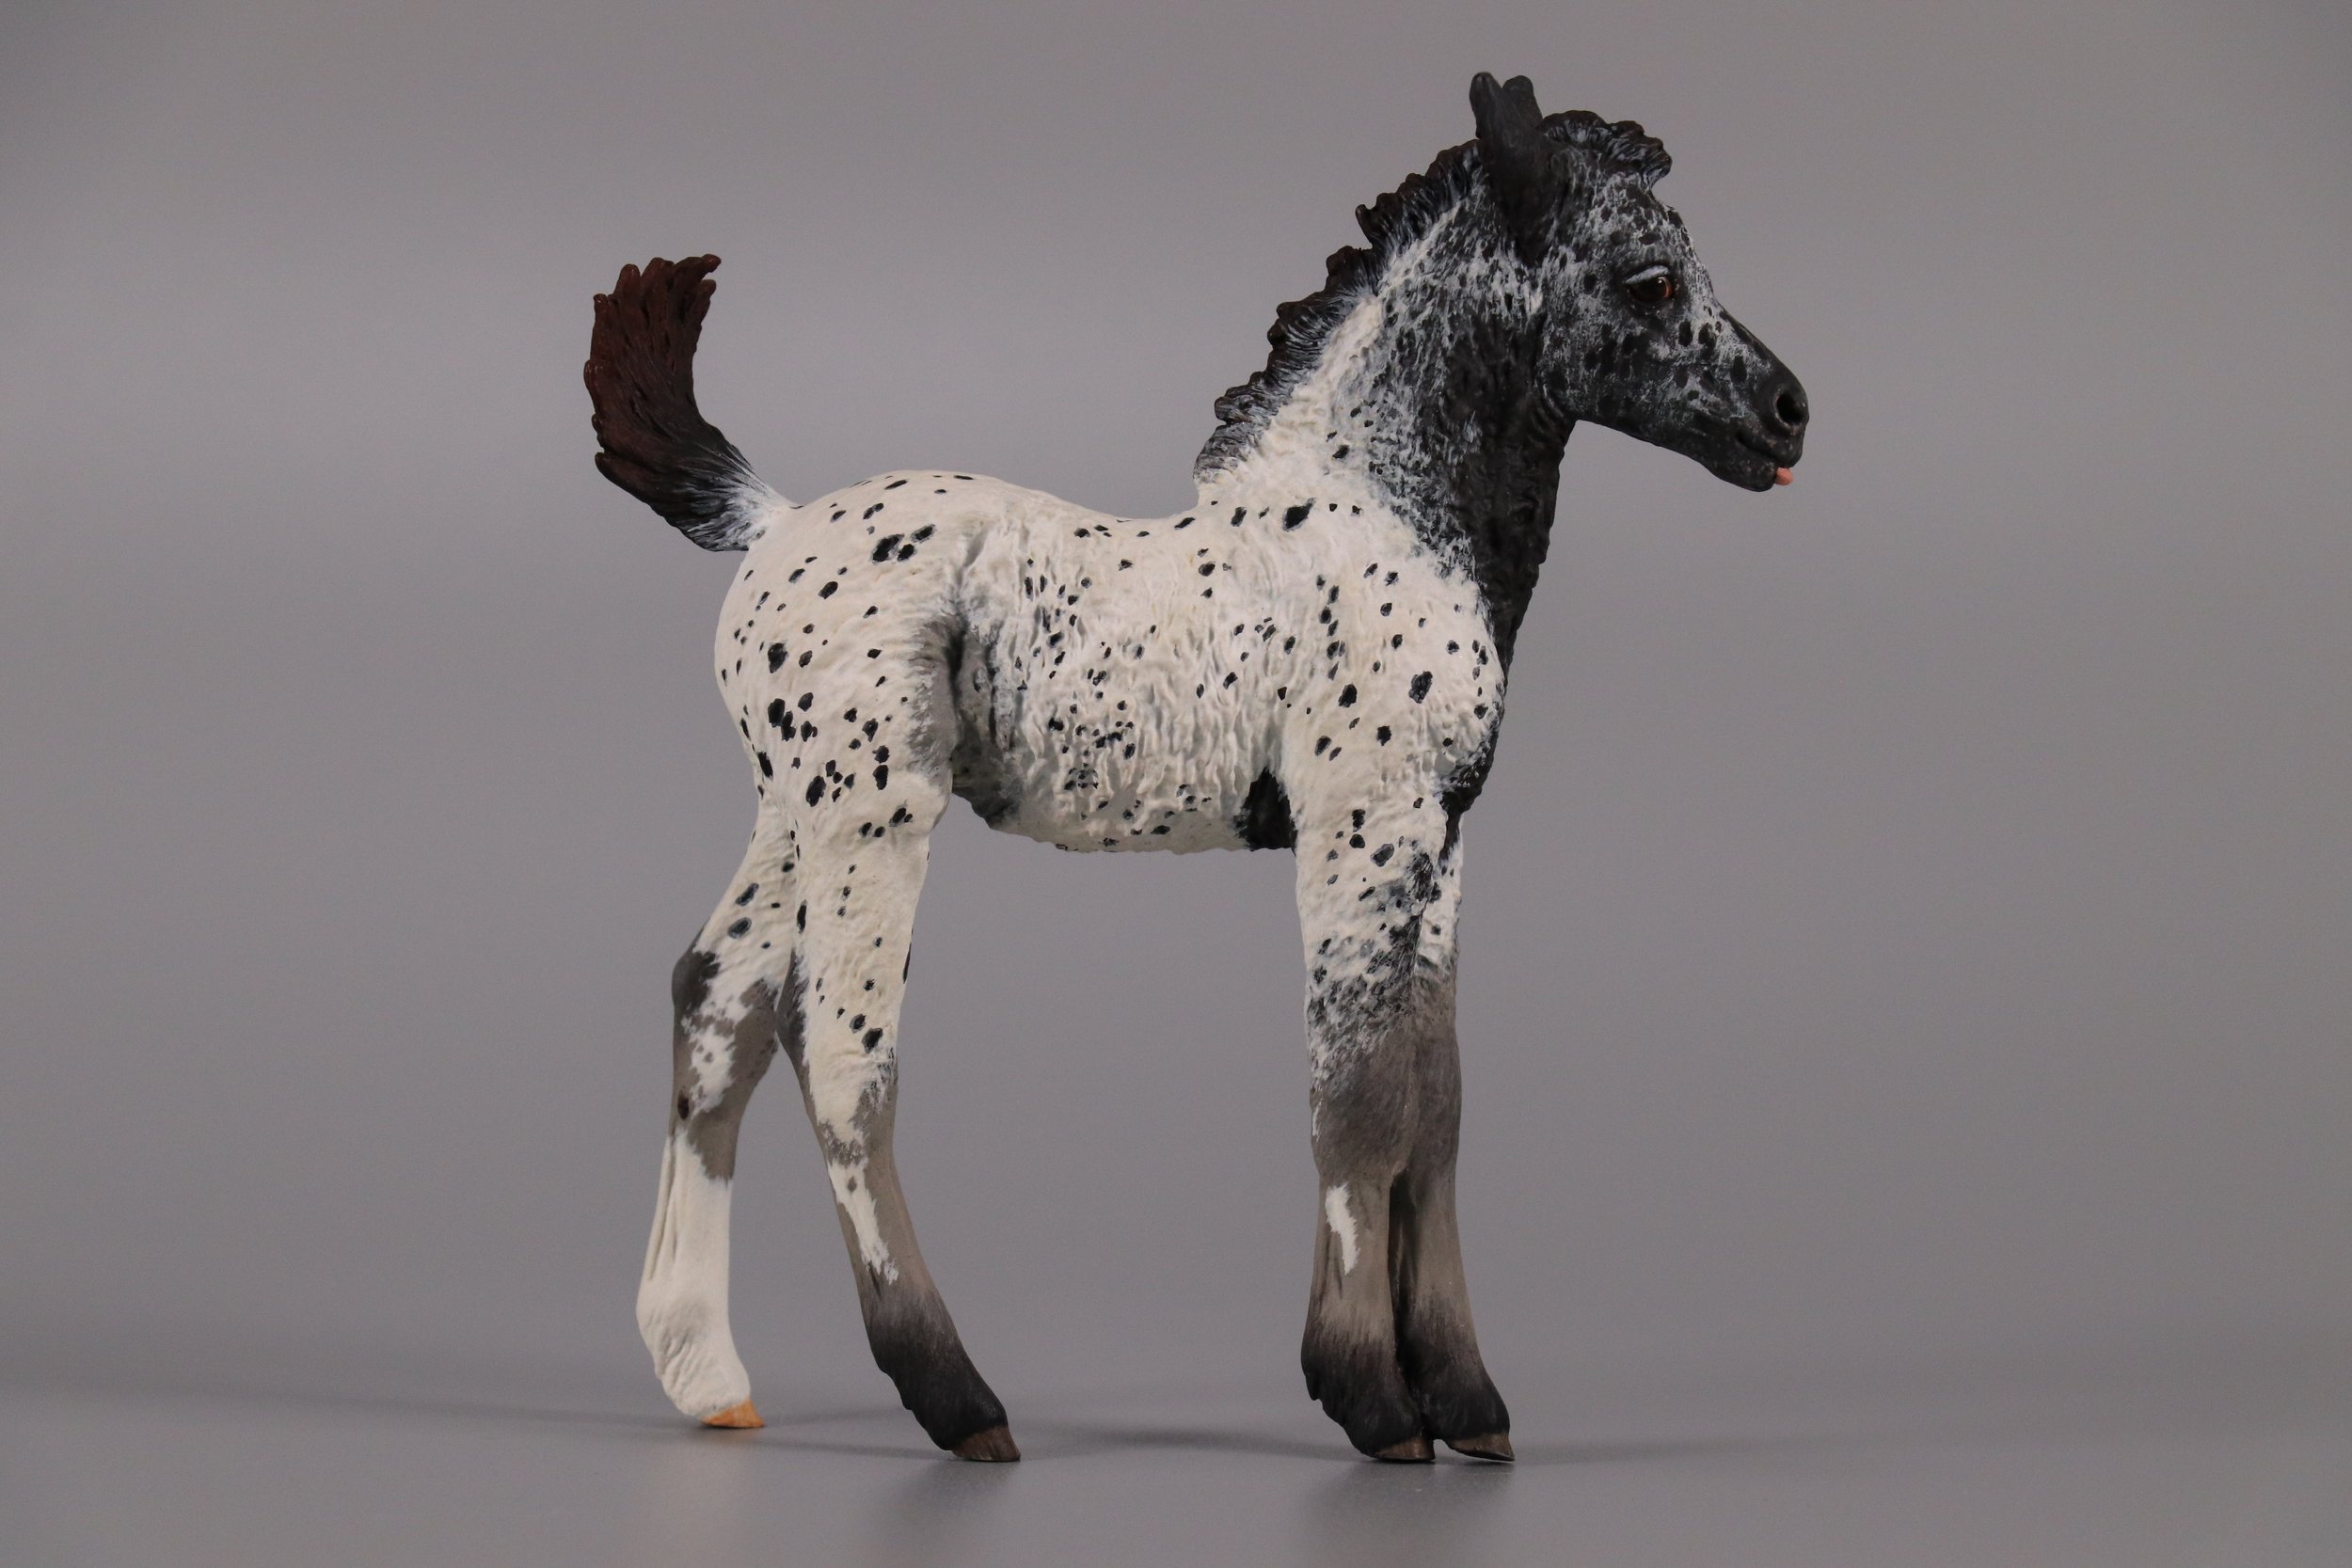
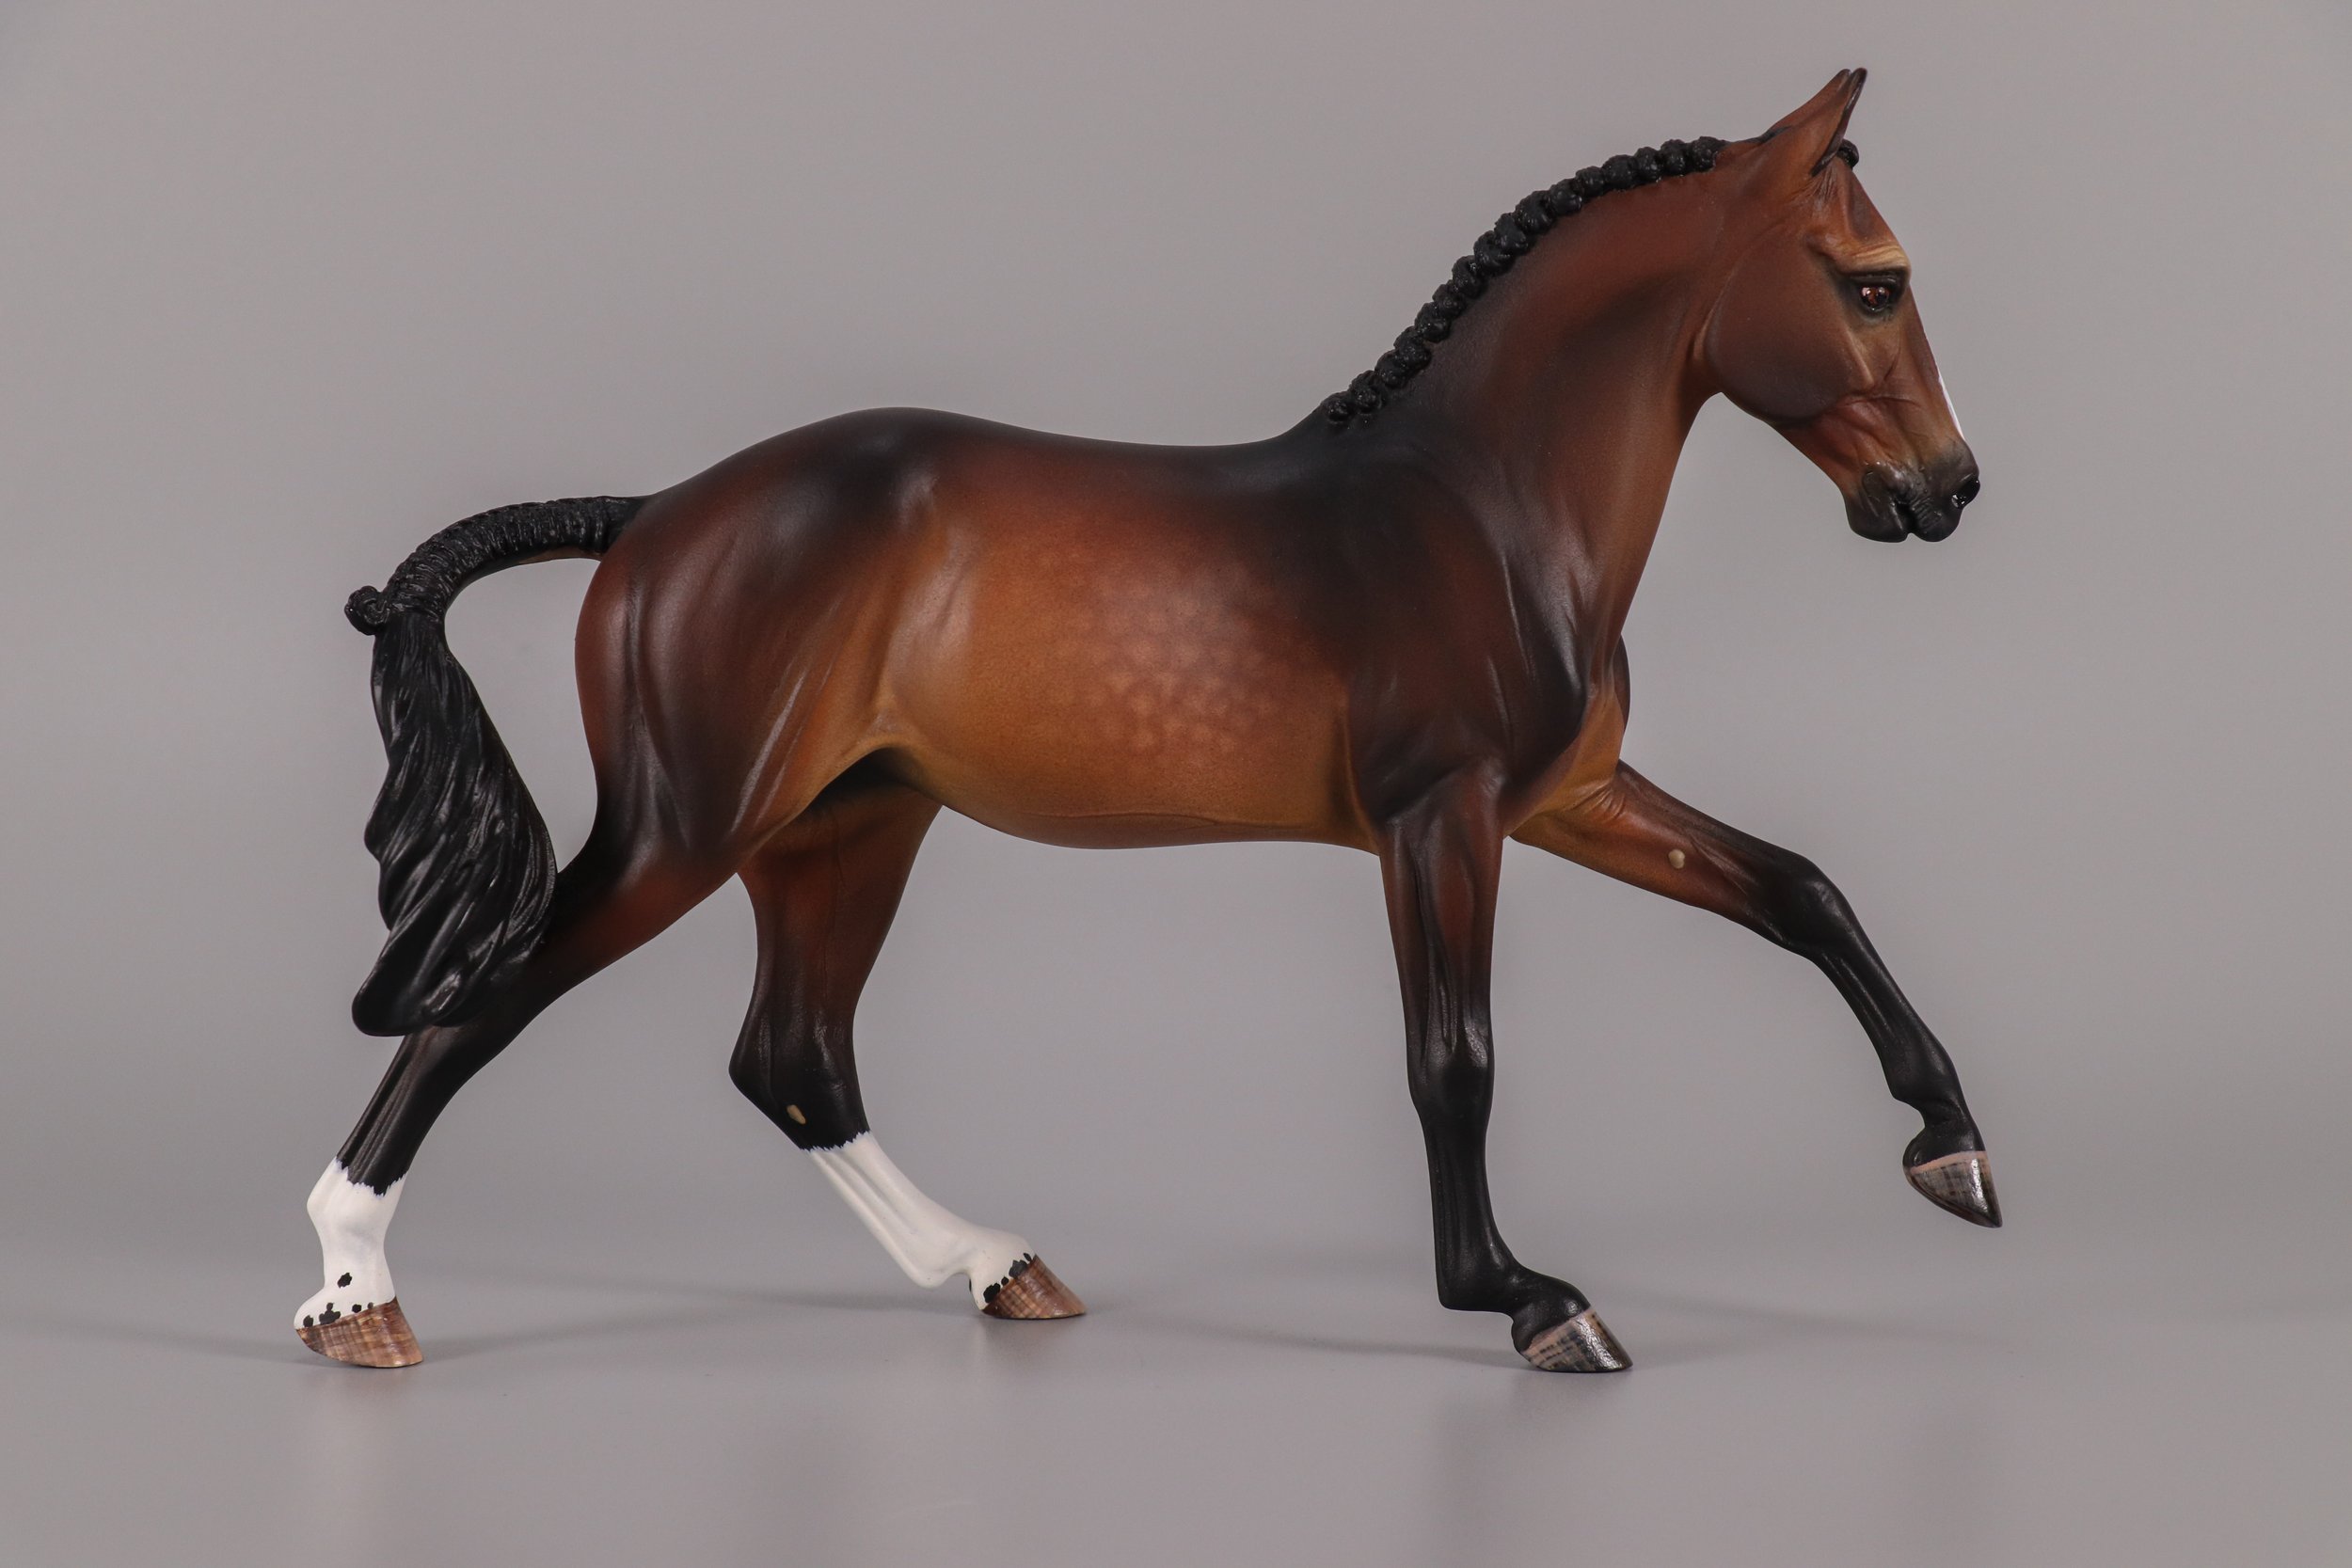
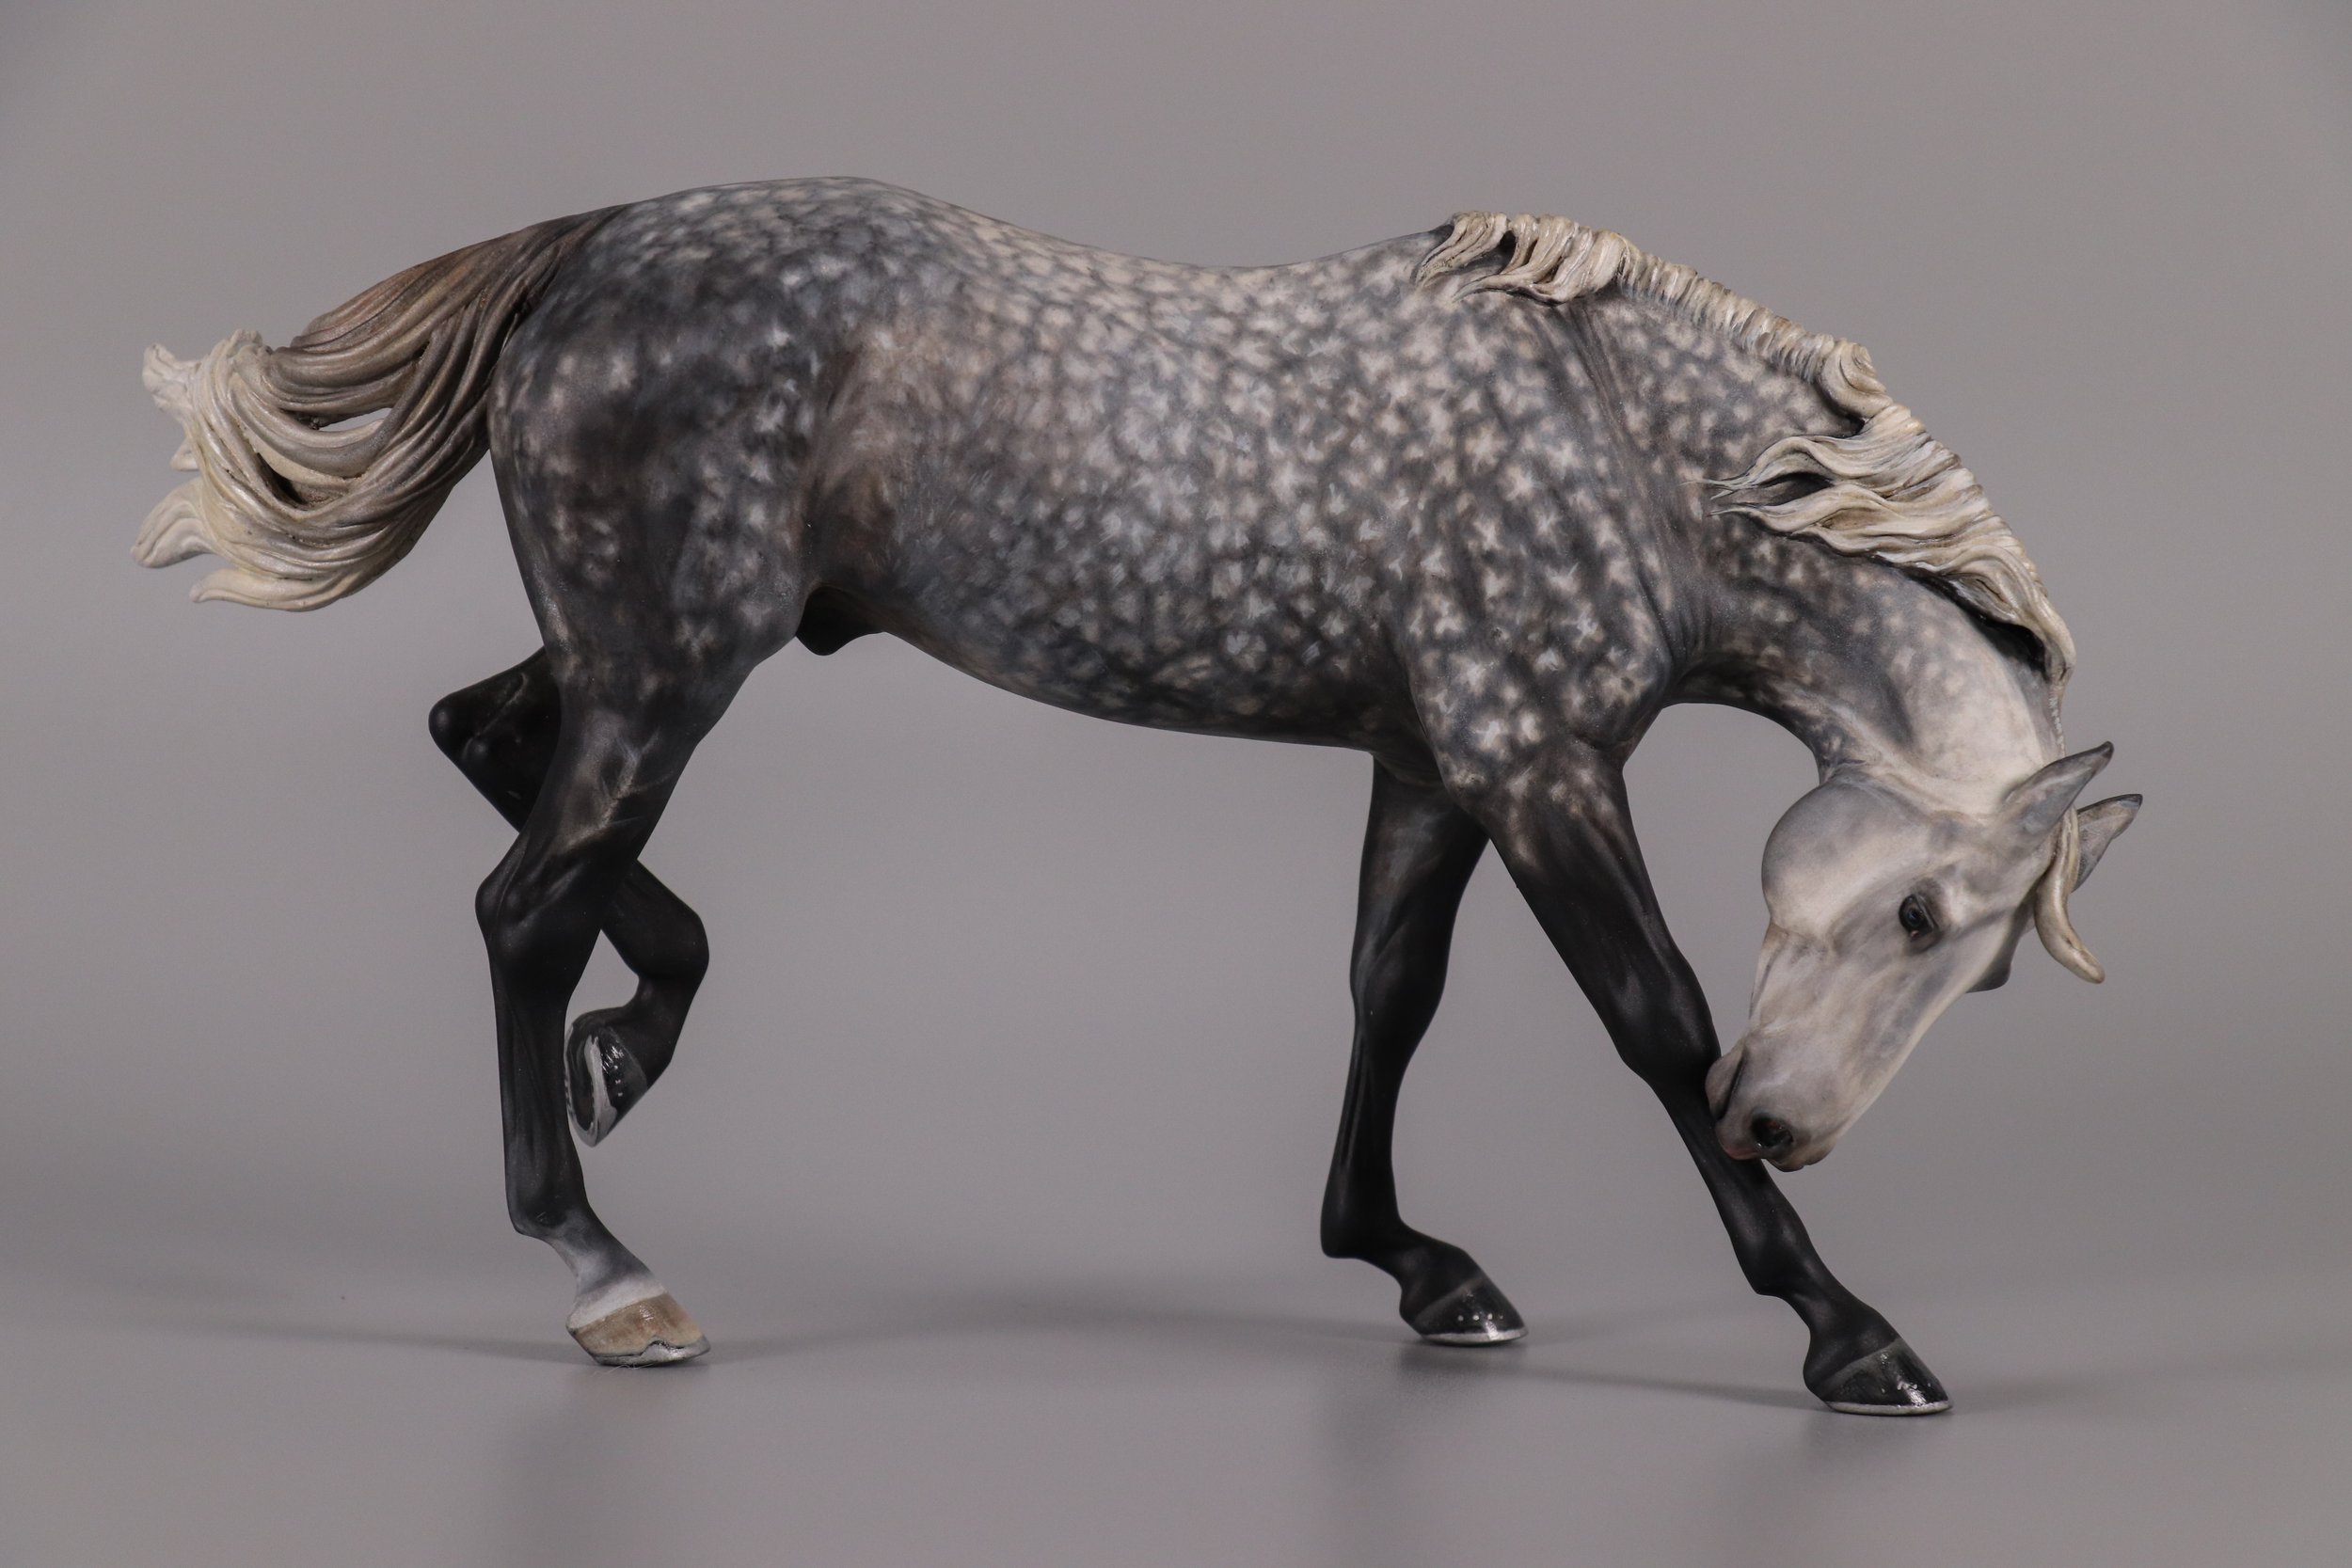
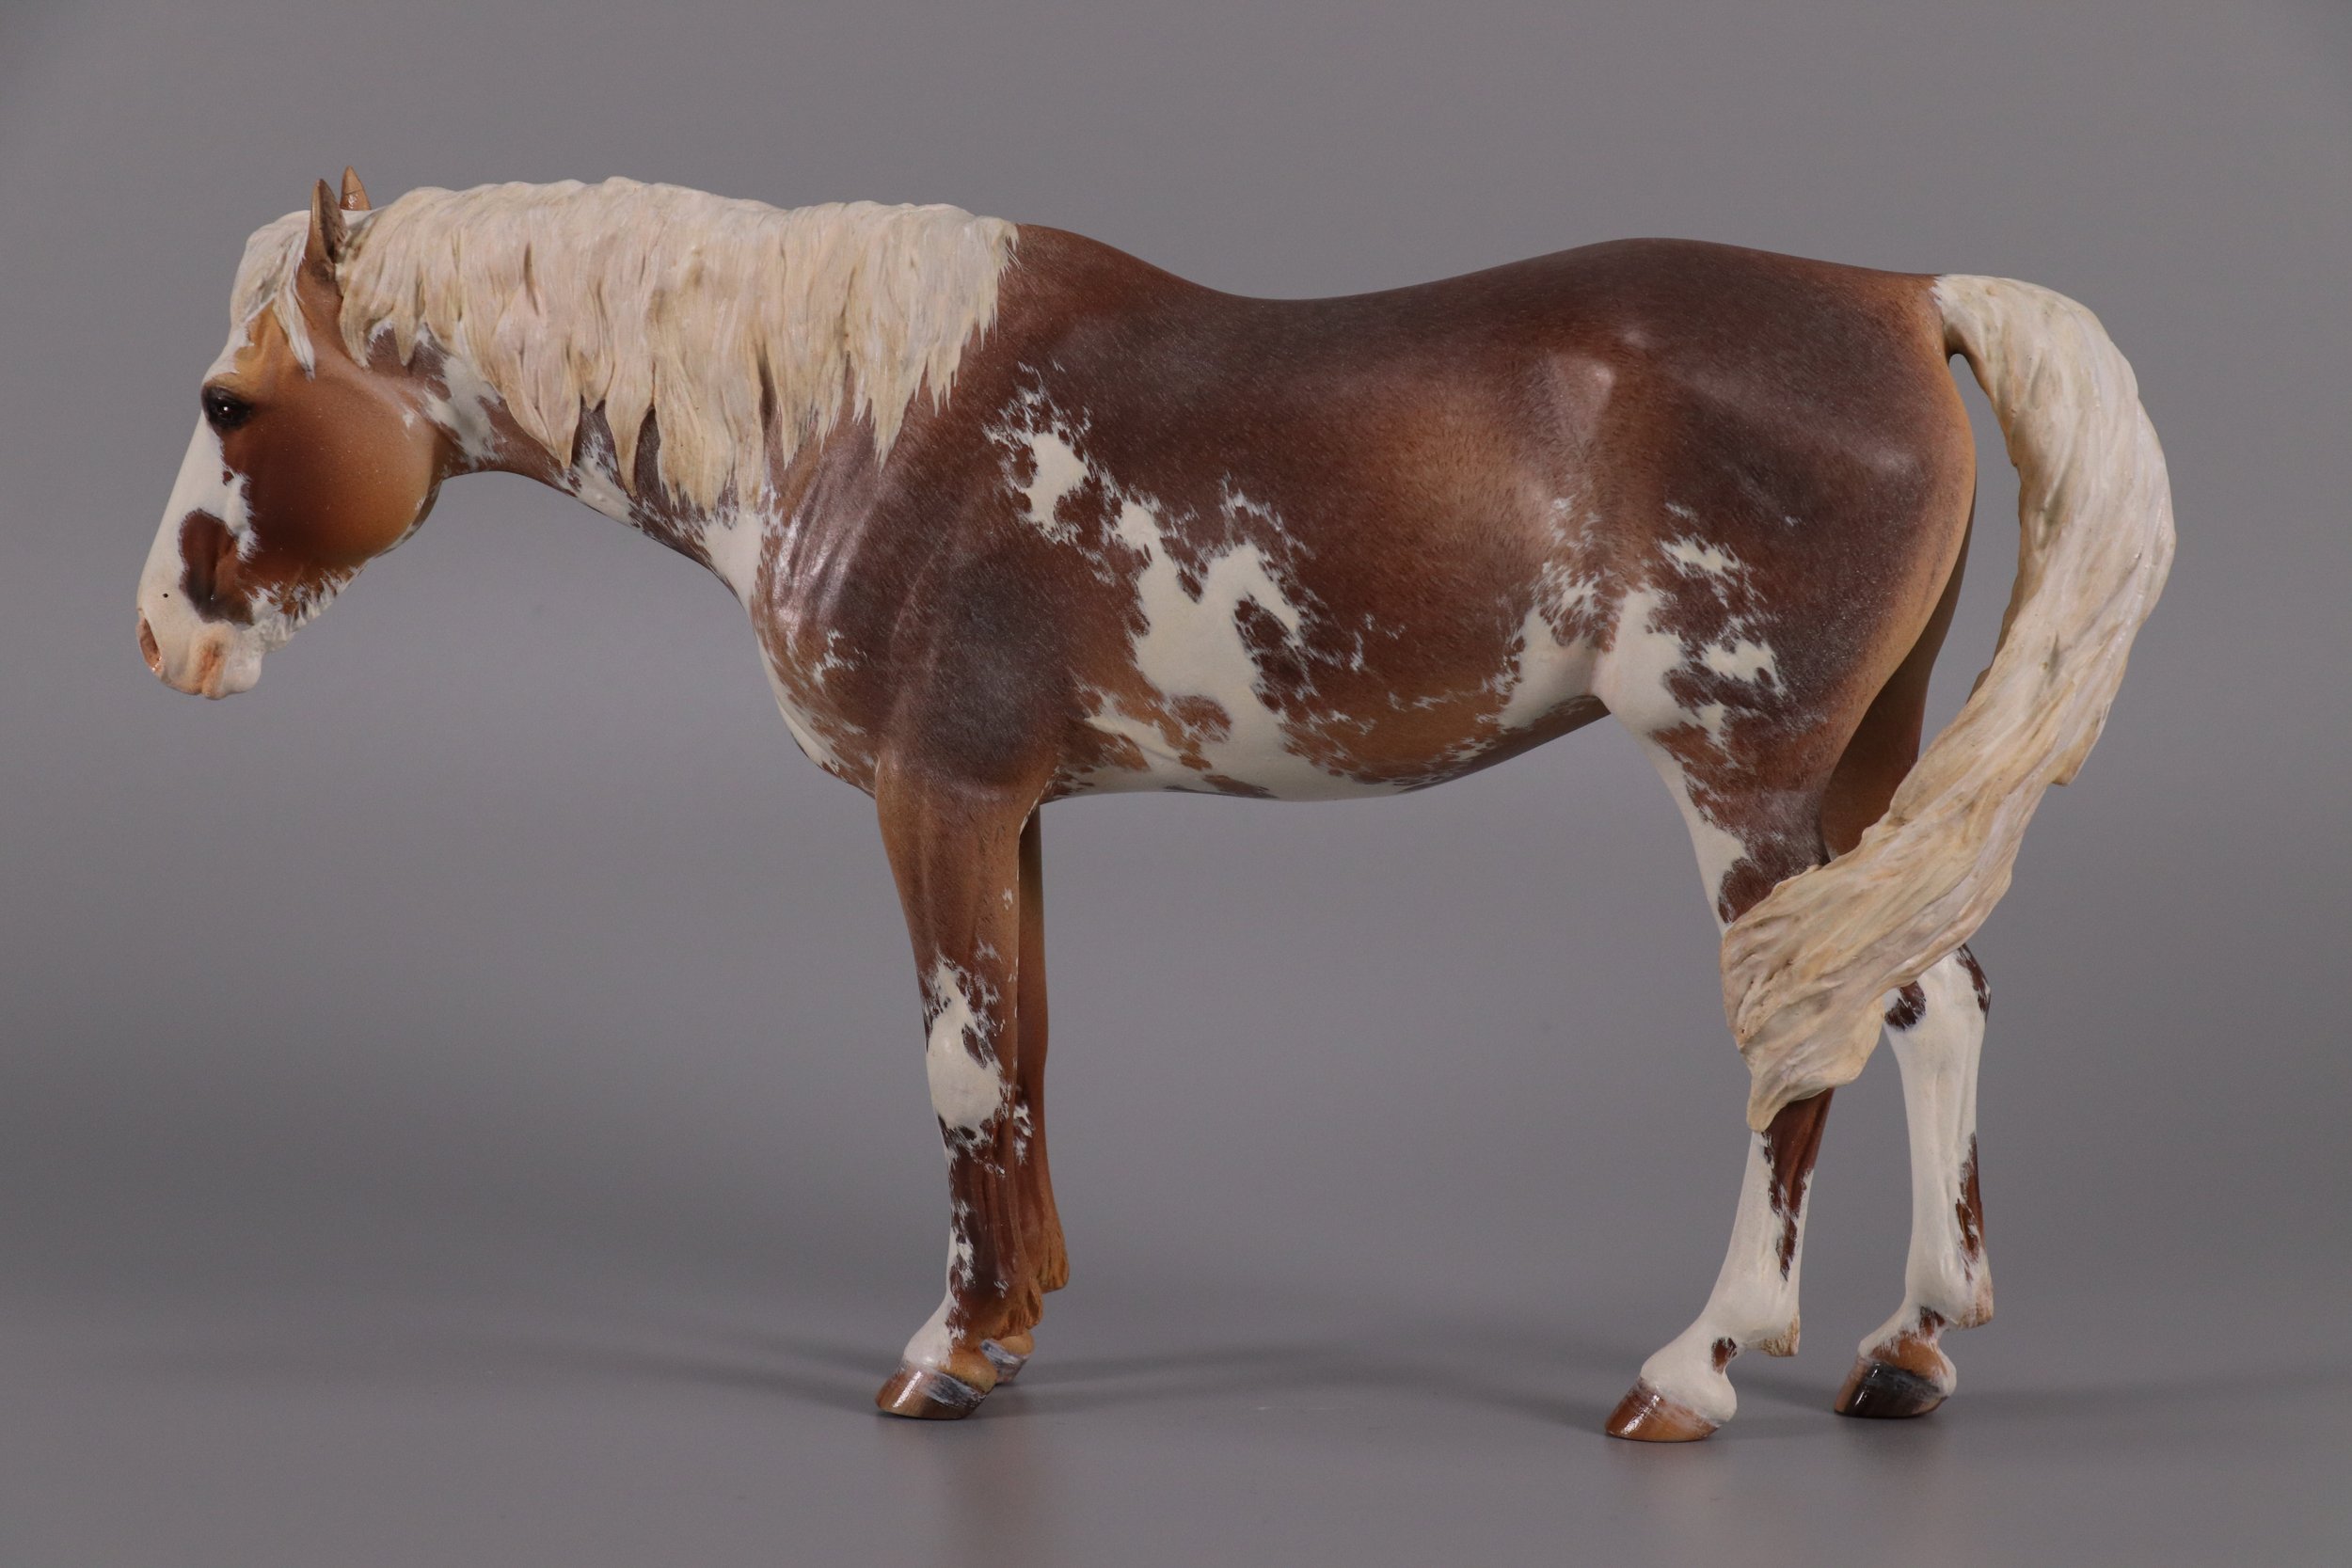
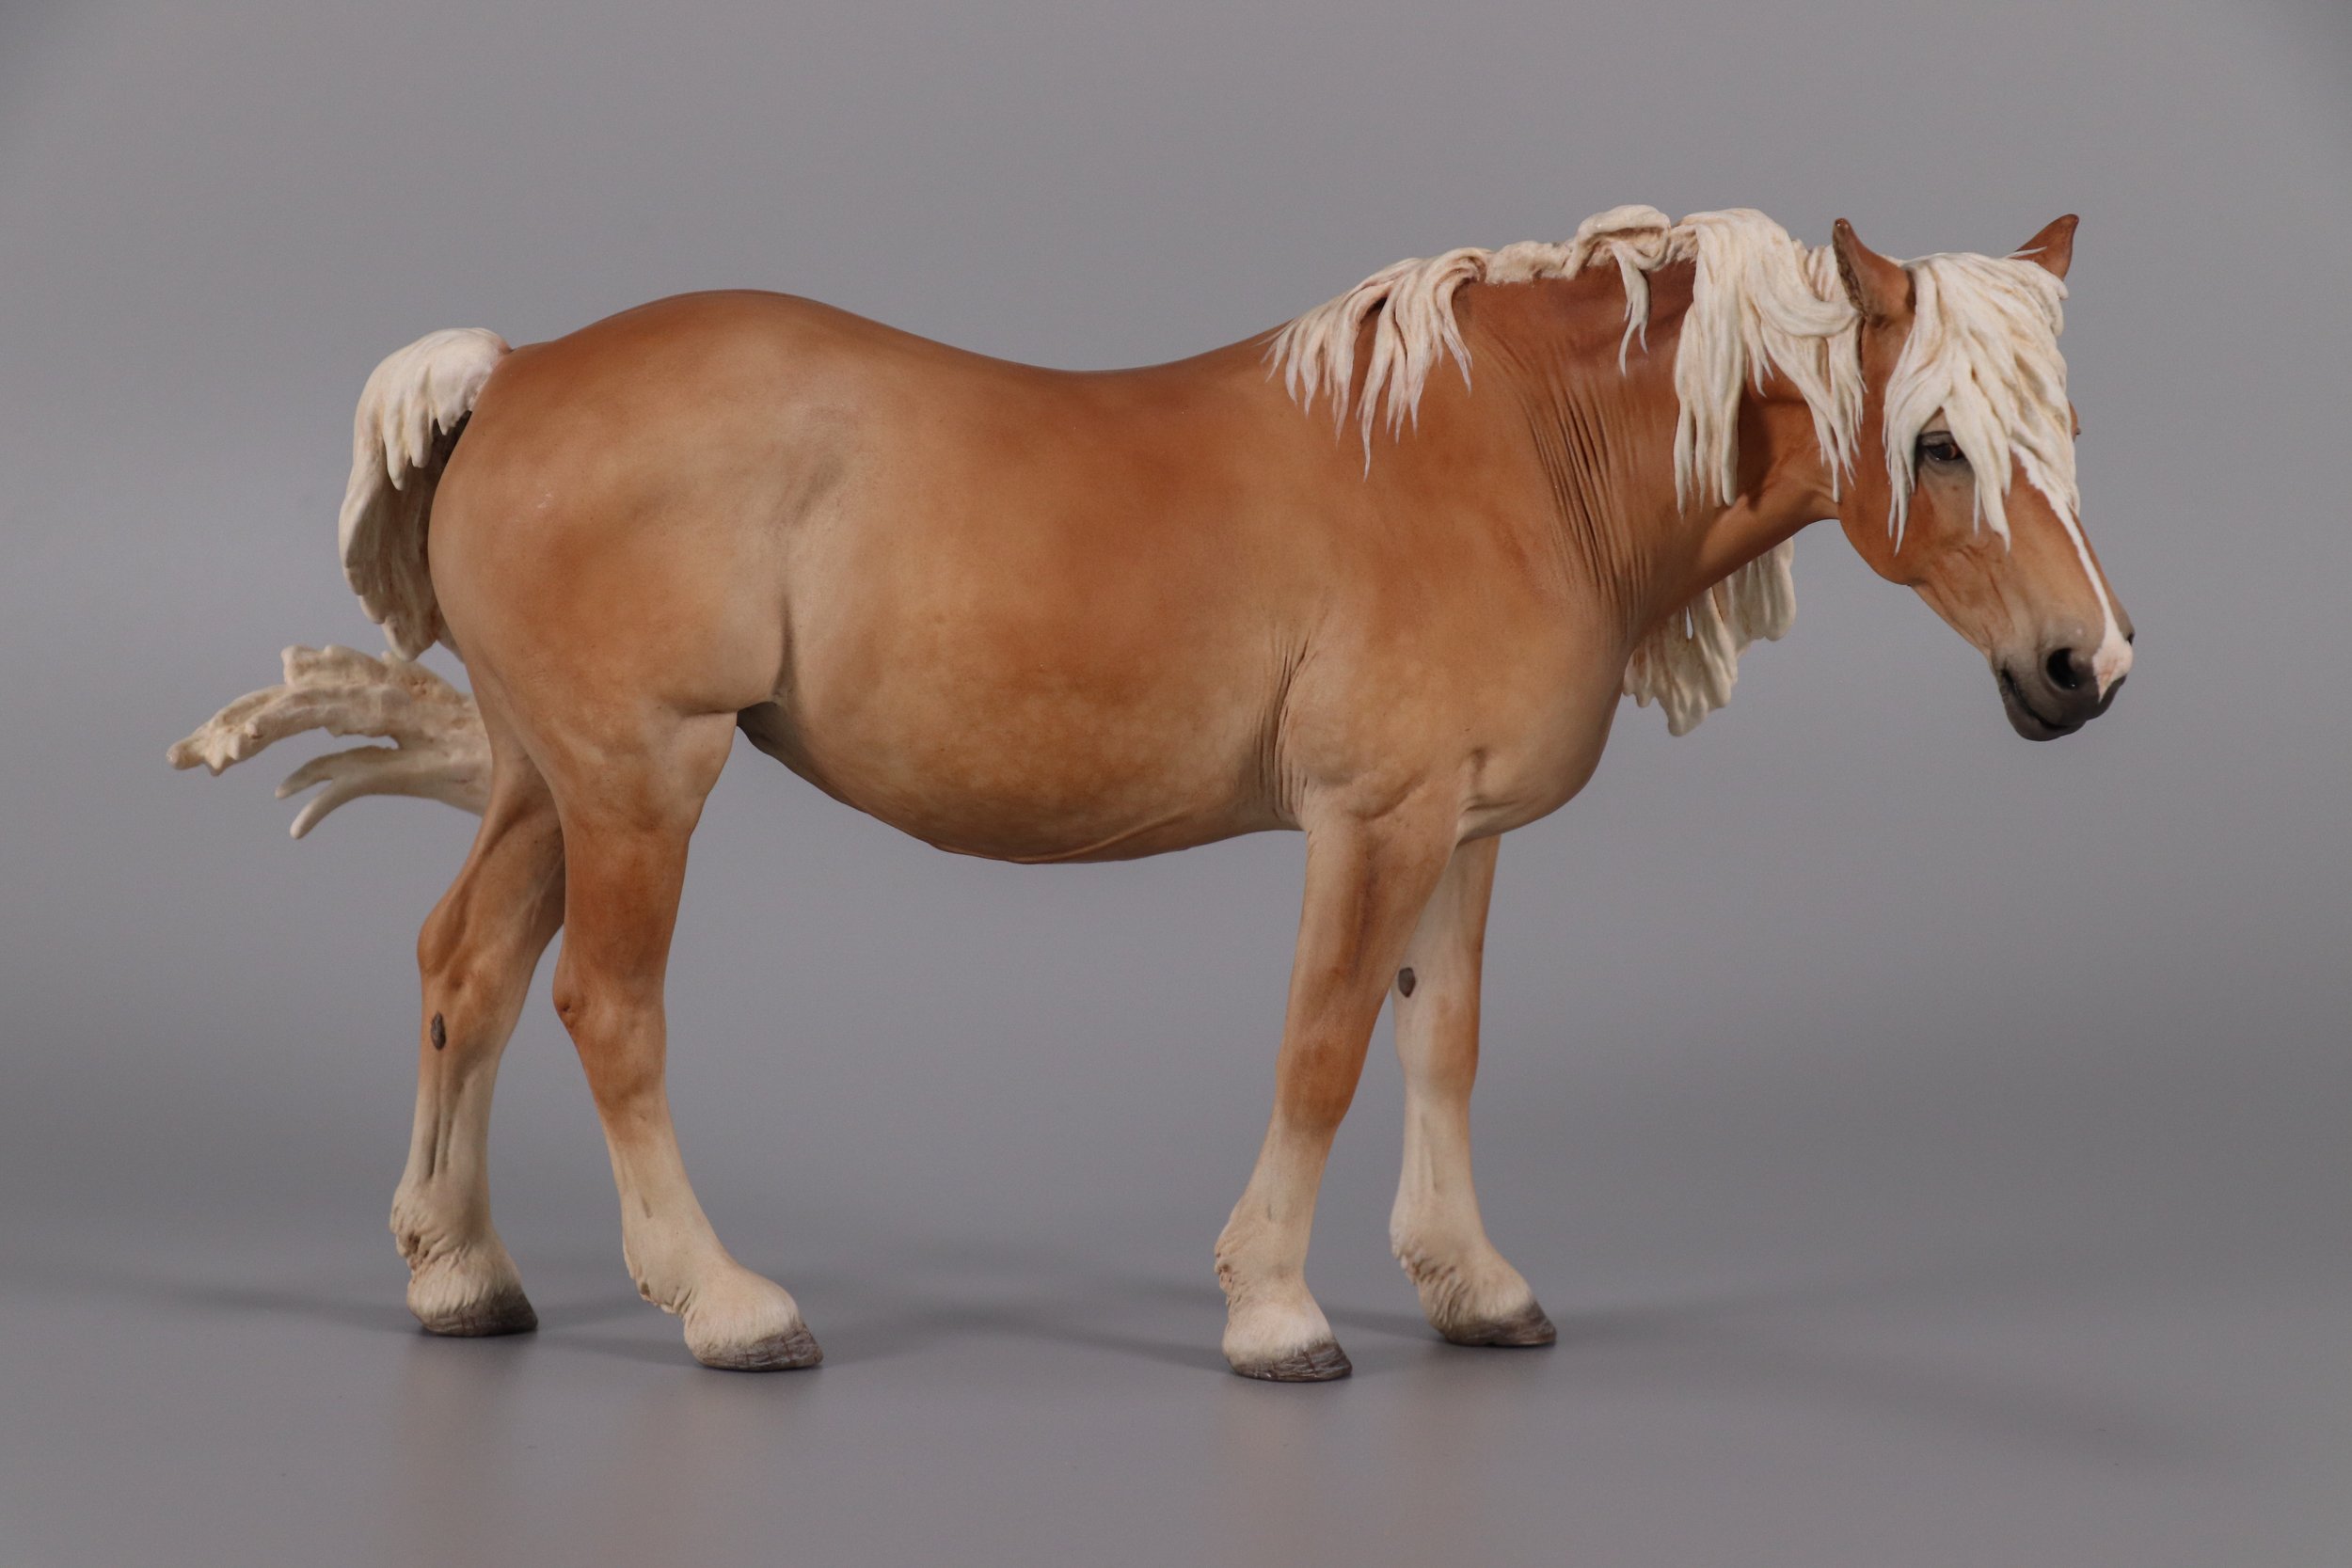
Below, in another gallery, you can see the same horses from that first gallery, compared to their photos from the new setup. They’re not perfect photos, but in my opinion, they’re a lot better!
One final note
It would be remiss of me, I think, to not mention this. I posted the prices of the equipment next to the links not to flex but to be transparent about how much Tim and I chose to spend. To take good photos you do not necessarily need expensive equipment; this stuff is a luxury, and I’d feel like a dick if I didn’t acknowledge that I’m in a very lucky and privileged position to be able to buy the horses I have and the photography equipment I’ve got.
If I had one tip to give, one piece of equipment to recommend, it would be to buy lights (not necessarily the ones I’ve linked in this post). I really don’t know much about photography, but I do know that lighting can make or break your photo; it is, after all, at the heart of photography in the first place. The table has been useful, but it’s the lights that I’ve absolutely fell in love with. The simple difference they make in a photo is amazing.
I hope someone out there finds this useful! As I have said 900 times in this post, I’m not a photography expert, and I don’t even think my photos are all that good. But I do enjoy taking them, and I enjoy writing, so I’ve found a way to combine that process here :D I may do an update post once I’ve unlocked the state secret on how to photograph glossy models, because god knows that knowledge needs disseminating, so please watch this space!
…And if you read to the end of this hideously long ramble, good job! You should slide into my DMs and tell me I’m an idiot sandwich.


